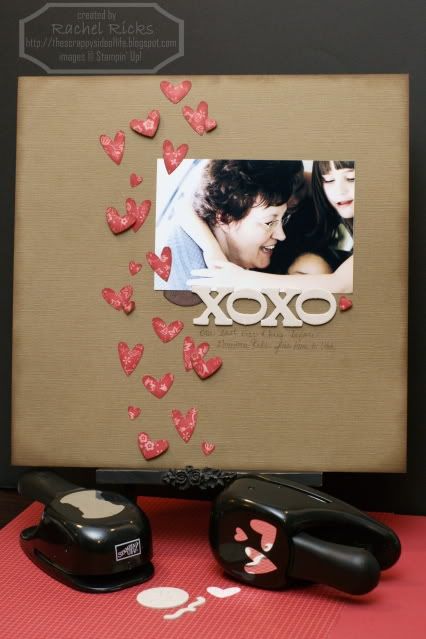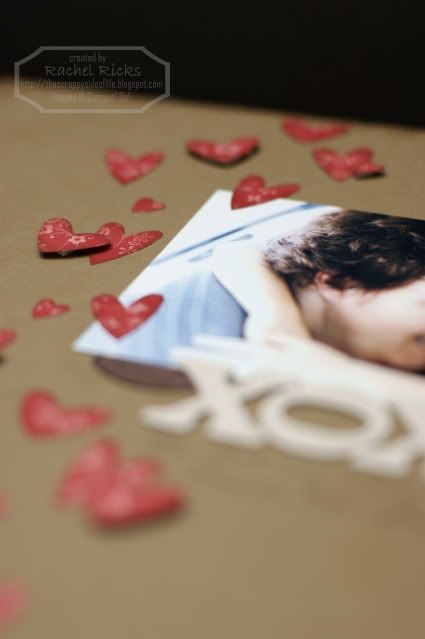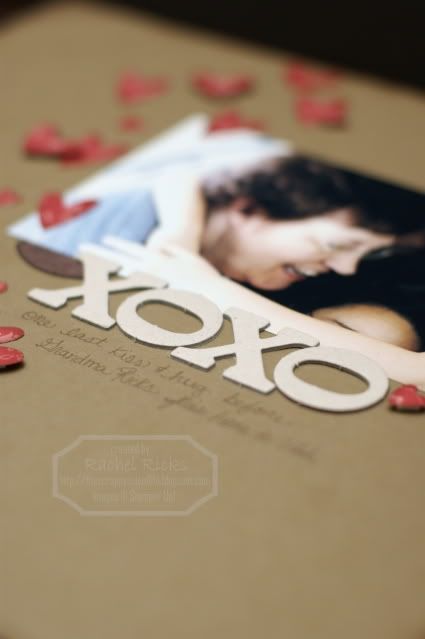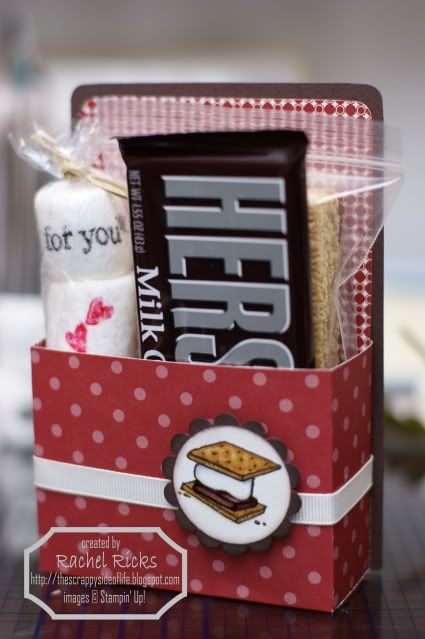
It's actually two make & takes. First, stamping on the marshmallows and second, the box holding the s'mores kit.
Stamping on marshmallows...
You will need:
small rubber stamp
large marshmallows
food coloring paste (or classic stampin' pad) color of your choice
paper towel or napkin
1) Spread a small amount of food coloring paste on your napkin and let it absorb in a bit, like a stamp pad.
2) Press your stamp into the paste. If it is too thick stamp it onto a napkin to take off excess. You want just a thin layer of paste.
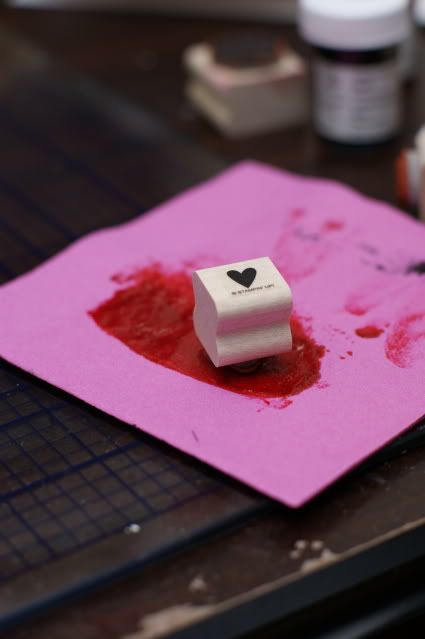
3) Gently press the "inked" stamp onto the marshmallow and slowly curve as you press following the shapre of the marshmallow. Tip: Let the marshmallows sit out of the package for a little while to make the marshmallow more stiff and less sticky.
It took some practice runs to get the feel for how much pressure. (You can see them in the background. Plus the ones my 3 year old made. Yes, it was a mess.)
4) Now just wait for it to dry. That was the hard part for me. I didn't wait long enough and mine smudged a little bit when I wrapped it up. The thicker the paste the longer it takes.
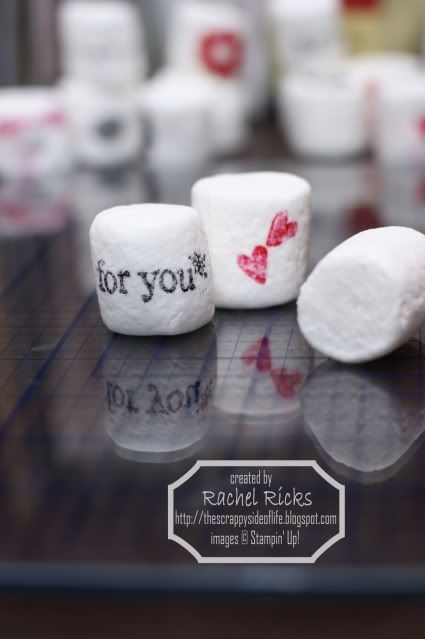
You can also use classic water-based nontoxic ink pads (it will say on the back.) Since you are using a small amount of ink it shouldn't hurt to eat it.
The s'mores kit box...
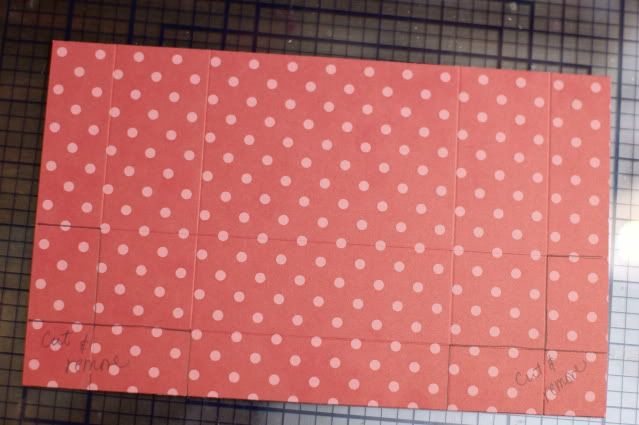
1) Cut Designer Series Paper 9" x 5.5"
2) Down the 9" side score at 1",2.5",6.5", and 8"
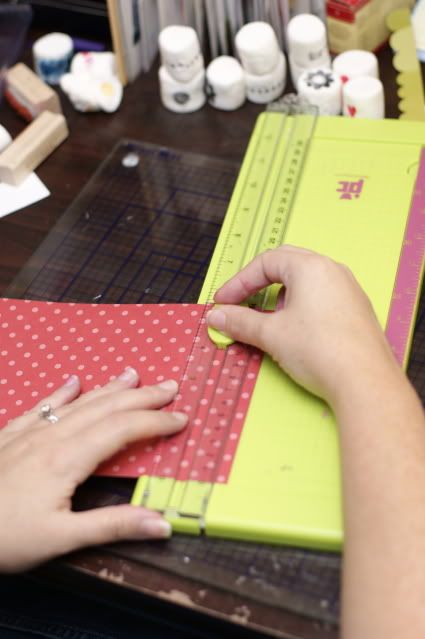
3) Down the 5.5" side score at 1" and 2.5"
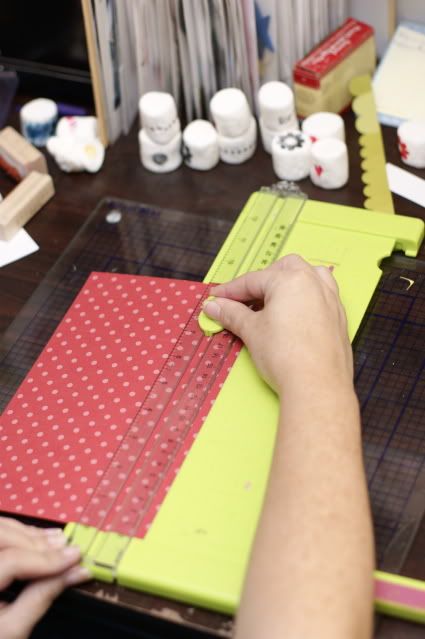
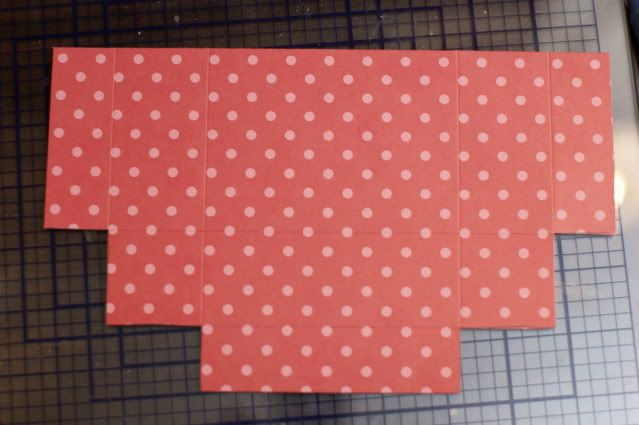
4) Cut on the scored lines following the diagram
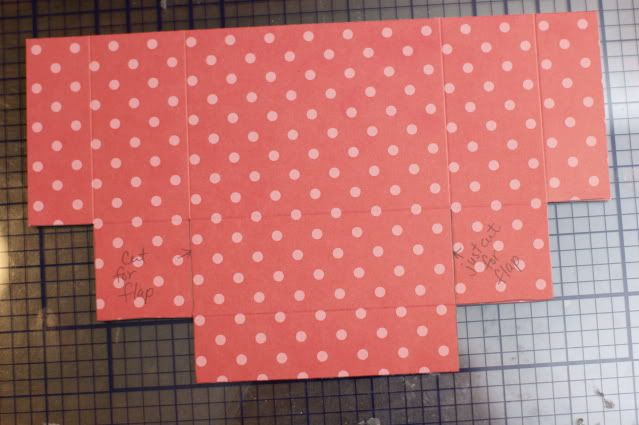
It should look like this
5) Cut to create a flap and add adhesive to the flap
6) Fold on all the scored lines to create a box and glue/tape together
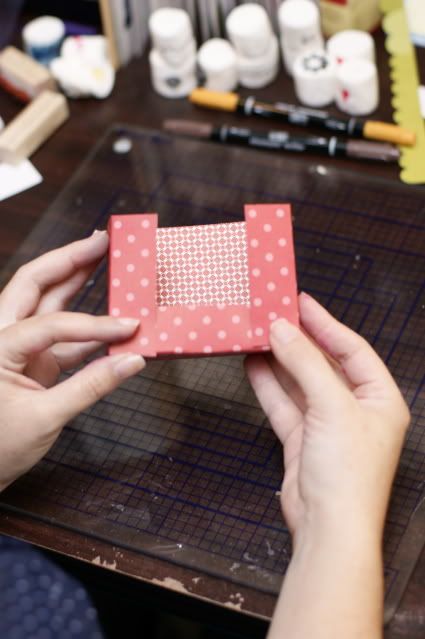
7) Cut a piece of coordinating paper 6" x 4" and attach it inside the back of the box
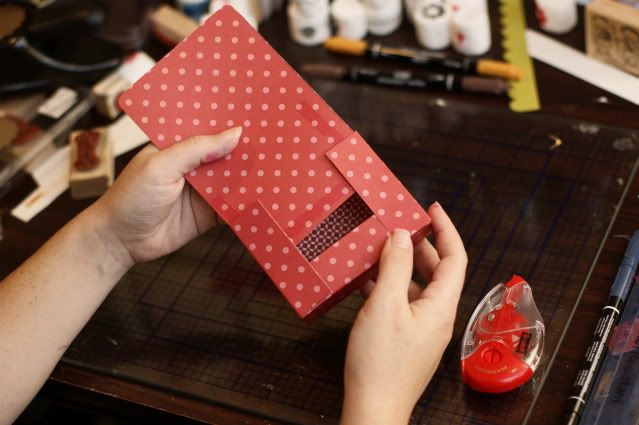
I attached the ribbon at this time so the ends of the ribbon would be hidden behind the card stock.
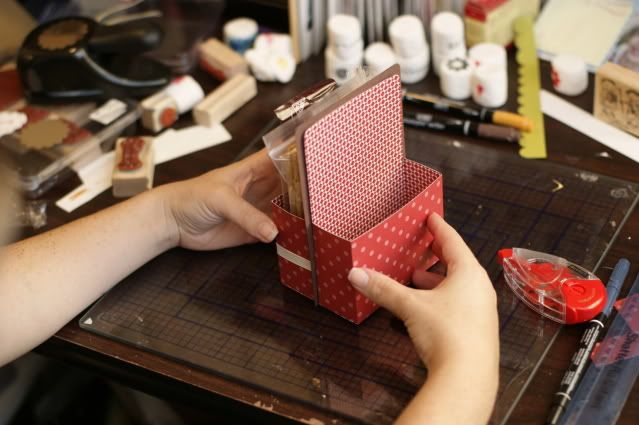
8) Cut a piece of thick cardstock 6 1/4" x 4 1/4" and attach it to the back
9) If you want to make a double sided kit to hold enough to make 8 s'mores, just follow the diredtions starting at step one, then attach it to the back of the first.
10) Decorate
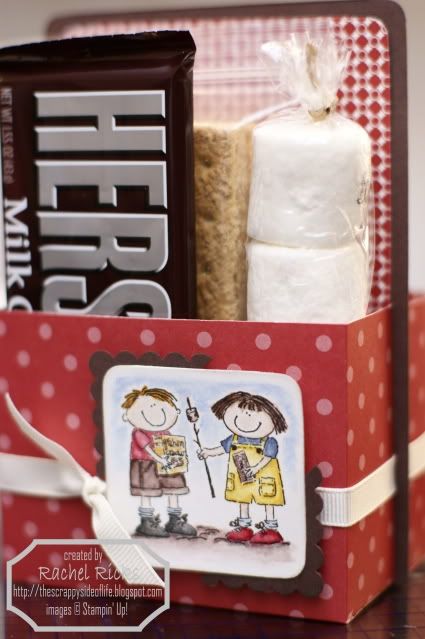
I stamped the s'more stamp from Under the Stars set (#111556) then colored it with Stampin' Write markers and blender pens. I used the More Mustard marker for the crackers and Chocolate Chip for the chocolate candy. Then punched it out using a circle punch and layered it on a punched circle scallop. I attached it using foam tape to add depth.
Aren't the little kids making s'mores so cute! I was so excited to get this stamp set years ago (like 2003) and never used this stamp, lol. I figured even though it is an oldie I'd go ahead and use it since it was perfect for a s'mores kit on S'mores Day! I used Stampin' Write markers and blender pens to color this one in as well. I punched a square scallop in Chocolate Chip cardstock, cut it in half diagonally, then slide them behind opposite corners to finish it off.
11) Fill
I took 4 marshmallows and stacked them, rolled them up in plastic wrap, and tied the ends with raffia. I put 4 graham crakers in a small sealable baggy. Then filled box.
How cute! These would make super cute and quick gifts. Sentiment ideas could be...
Happy Birthday and many s'more
The world could use s'more (friends, teachers, sisters, etc) like you
I love you s'more
If you think of more I'd love to hear them for inspiration.
I'm sure there are typos or mess ups. If you have a question, email me or leave a comment. I'm happy to help.
I hope you enjoyed Make & Take Monday! Have a wonderful week.