Monday, December 12, 2011

Almost a Year Later

I finally scrapbooked a few of last year's Christmas photos!
I printed the black and white 8x10 to use in a frame as display at our church's Christmas Festival over the weekend. A friend came up with the idea for this amazing photo tree.
Don't you just love that awesome red frame?
When it was over I didn't want to just throw out the photo so I thought I'd try to use it on a scrapbook page.  
Which worked out perfectly with the Old Fashioned Christmas challenge theme over on Hand Stamped Sentiments this week.
Thanks for stopping by my blog today. I hope to see your projects on Hand Stamped Sentiments.

  
Photobucket

Thursday, December 1, 2011

Up on the Roof Top Blog Hop


Welcome to the UStamp with Dawn and Friends!! Up On The Roof Top 2011 World Showcase Holiday Blog Hop.

If you have been following the Blog Hop from the beginning, you have just been wowed by Dawn. Wasn't that the coolest tree!

If you are just joining the Blog Hop, no worries, you can start at any point. All the Designer's Blogs are linked together so you will be able to see ALL the FABULOUS projects we have for you.

I'm so excited to share my project, Merry Mail Garland, with you!
**Edited to add** There was a question on how I made the Christmas lights so I wanted to be sure everyone knows that the tutorial can be found at UStamp with Dawn and Friends, just *click here* and register to join. You'll find the tutorial for this project and many others ALL FREE as a gift to you!! Be sure to go download the PDF tutorial! Merry Christmas!!**
Checking the mail is so much fun during the holidays. Especially when you start receiving "merry mail" - Christmas cards and photos from family and friends! Usually I just hang them on the fridge, but this year I wanted to display our "merry mail" somewhere special. 
Smooch Pearlized Accent Ink and Crystal Effects make these bulbs shine as they hold your "merry mail" on Cherry Cobbler Baker's Twine. What a lovely way to deck your halls this holiday season!

As a Special Thank You for stopping by my blog I am giving away BLOG CANDY!!
Please leave a comment about my project to be entered for a chance to win a great goodie bag of current Stampin' Up! products.  I will randomly select a winner to be announced on Tuesday, so please check back to see if you are the lucky recipient!
AND there's MORE...LOTS MORE!!
  • You have the opportunity to get the downloadable PDF Tutorial for my project FREE!! It's a GIFT from UStamp with Dawn and Friends!! Woohoo!! See the blinkie below to access the FREE Blog Hop Website.
  • In the Spirit of the Holiday Season, you have the opportunity to get in on "Special Holiday Pricing" for the upcoming UStamp with Dawn and Friends!! SCORE!! Event. The Stampin' Up! Simply Scored Tool is HOT STUFF and SCORE!! will feature 40+ projects, all created using the Simply Scored Tool. SCORE!! is a MUST NOT MISS Event!! See the blinkie below to join and get in on the Early Bird savings.
And now for the most exciting giveaway of the season...
Everyone that joins the new and exciting upcoming event - SCORE!! - with "Special Holiday Pricing" will be entered into a Drawing to win 1 of 3 FREE Passes for an ENTIRE YEAR of UStamp with Dawn and Friends!! events!!
YES!!
You read that right!!
YOU could win a whole year of UStamp with Dawn and Friends!! events FREE!!

***Special Holiday Pricing of just $19.99 ends Dec 8th***

Winners will be announced on Friday, Dec 9th.
 Click the Blinkie below to join SCORE!! with Special Holiday Pricing
and a chance to win a FREE Year of UStamp with Dawn and Friends!! events!!


Click the blinkie below and you will be taken to


Of course it's ***FREE*** to join and
there you will find the tutorials for ALL the blog hop projects,
PLUS live chats, challenges and more prizes!!

You will even have an opportunity to be considered for a spot as a Guest Designer!!
Yes!! It is all FREE, so tell all your friends and
join the fun with UStamp with Dawn and Friends!!
AND last, but certainly not least, it's time to hop on over to the next Designer's Roof Top! So please click below for NEXT BLOG, where you will find Katie ready to share a delightful Holiday project with you.


If you would like to hop back to Dawn's Roof Top, please click below.


Thanks again for stopping by and Happy Holidays to YOU!!

Photobucket

Monday, November 28, 2011

Trimming the Tree

The day after Thanksgiving is decorating day at our house. We crank up the Christmas music and deck the halls! I've been decorating since Friday and I'm still not done. I keep coming up with more projects I want to make to put out this year, so I've been getting distracted. I was able to squeeze in a few minutes of craft time to make this ornament.
The challenge this week at Hand Stamped Sentiments is to make anything but a card and ornaments is the theme.
I used the idea of cutting designer paper, rolling it up, and sliding it into the clear ornaments. Instead I printed photo strips of my children, rolled them tightly, and slide them into my glass ornament. I also added a strip of paper with 2011 typed over and over to remember the year.
Now that I'm looking at it, I think I'm going to add a photo strip with photos of me and my husband as well. You could do so much with this idea. Make an ornament with photos of just one child including strips that list things about that year. Like what grade, favorite book, movie, game, etc. Fun!! It's like a time capsule in an ornament! I'm so doing that now!

Thanks for stopping by for a visit. I hope you are enjoying the holiday season. Be sure to drop by Hand Stamped Sentiments to see all the great ornaments the designers shared this week. I know things are busy with all the great holiday things going on, but if you find some time to get crafty, join us this week and link your project at Hand Stamped Sentiments.

Photobucket


Monday, November 21, 2011

Christmas Wishes

Nope, it's not another Christmas card. This week I made a cute little Christmas gift box.

The challenge this week at Hand Stamped Sentiments is Winter Wonderland. Which is why I was inspired to use the snowflake die cut on my project this week. Isn't it cute with the button in the middle and the baker's twine bow?
Looking forward to seeing what this challenge inspires you to create! Head over to Hand Stamped Sentiments to check out the cool projects the other designers shared this week.

Now I'm off to get everything ready for family and friends to come celebrate Thanksgiving at our house. Hope everyone has a wonderful Thanksgiving filled with love and many happy blessings!

Photobucket

Monday, November 14, 2011

Comfort & Joy

If I keep this up I'm going to actually have Christmas cards to send out this year! Everyone would get a different kind of card, but that's fine, right?
This week at Hand Stamped Sentiments the technique challenge is using the bargello technique.
You cut strips of paper and off set them to create a new design. To create my background I cut strips from Designer Series Paper with diagonal stripes. I cut a few strips from the side, then from the bottom of the paper. Then I lined them up to create a sort of chevron pattern with the stripes. Super simple, but really cool!
Be sure to visit Hand Stamped Sentiments to see more great creations from the design team! I hope you'll accept the challenge and they the bargello technique this week, then share your work with us!

Thanks for visiting the little blue room!

Photobucket

Monday, November 7, 2011

Season's Greetings

I went grocery shopping the other day and Christmas decorations were everywhere. Christmas music was playing over the speakers. It really got me excited for Christmas and in the perfect mood to make this Christmas card.
 This week's challenge over on Hand Stamped Sentiments is to go overboard and create a Christmas card that is over the top! A card decked out with lots of layers, bling, and details!
And I did just that! I even created my own doily using the scallop die and the crop-a-dile to create the holes. Then I ran it through the big shot with an embossing folder to give it some texture. I love how it turned out!
Head over to Hand Stamped Sentiments to see all the other wonderful examples by the designers. Then go overboard on a Christmas card and join us for the challenge this week!

Photobucket


P.S. Believe it or not I posted twice today so be sure to check out my Matryoshka Doll.

Monday, October 31, 2011

A Simple Noel

You've heard of KISS, right? Keep It Simple Silly. Well, I've been reminded of that thousands of times because I never seem to be able to keep things simple. My husband and my sister are always giving me a hard time about this. I usually go overboard in everything I do, but not this time. I actually made something simple, and I like it! I even tried adding more stuff but took it off because I liked it simple.

If I were going to actually, really hand-make Christmas cards that actually, really made it into the mail box this would be the one. It literally took me less than a minute to put this together! A little trick on ruffling the ribbon...add adhesive directly to the card stock then scrunch and press. All done.

My color combo came from the color challenge this week on Hand Stamped Sentiments.

With Halloween in the rear-view mirror and Thanksgiving at the next exit Christmas is just around the corner. Time to get a head start on all the fun holiday projects!
Head over to Hand Stamped Sentiments for more inspiration and I hope you'll share some of your creativity with us this week, too!

Thanks for stopping by. Hope you have a wonderful week!


Photobucket


Thursday, December 23, 2010

Christmas Treat Packages

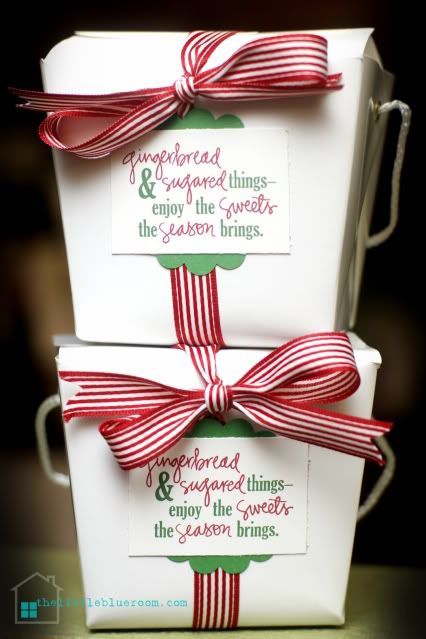
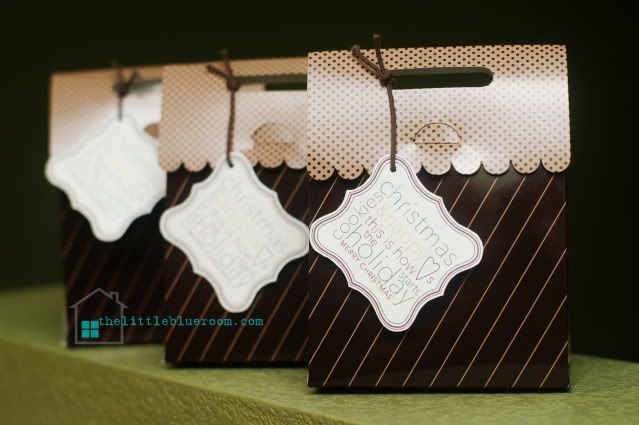
My family had a Christmas baking day and made lots of yummy treats to enjoy and to share with friends and family. When it was time to package it all up I went to the computer and designed my tags using Stampin' Up My Digital Studio brushes. I was able to change the colors and sizes. I even combined different brushes to create exactly what I wanted.

Photobucket

Photobucket

I hope you and your family are having a wonderful holiday and enjoying lots of yummy treats!

Merry Christmas!

Photobucket

Friday, December 10, 2010

Christmas Cutie

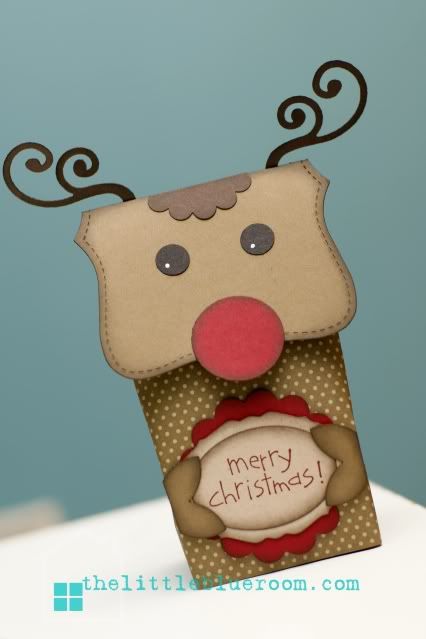
Isn't this guy the cutest?

Photobucket

First, I made a Box in a Bag (tutorial found here) and folded in the side creating more of a lunch bag fold on the sides. Then, I made a cute reindeer face and added it as the topper.

I hope you are enjoying the Christmas season! Thanks for stopping by.


Photobucket

Thursday, November 18, 2010

More Christmas Crafts

Here's a look at what we will be creating at Stamp Club tonight.

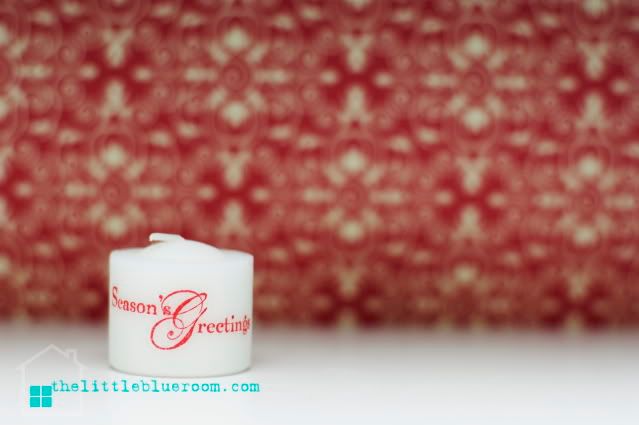
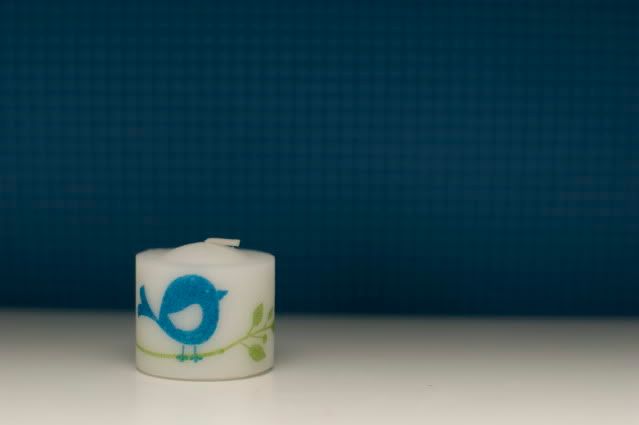
I finally tried "stamping" on candles. (How-to found here.) It's addicting! So fun and easy, but super cute and personal. I will be making many more of these, for sure!

Photobucket

Photobucket

Photobucket

Here's a non-Christmas one just to show these candles would be cute decorated in any theme. There are so many personalization and theme possiblities with this!

Photobucket

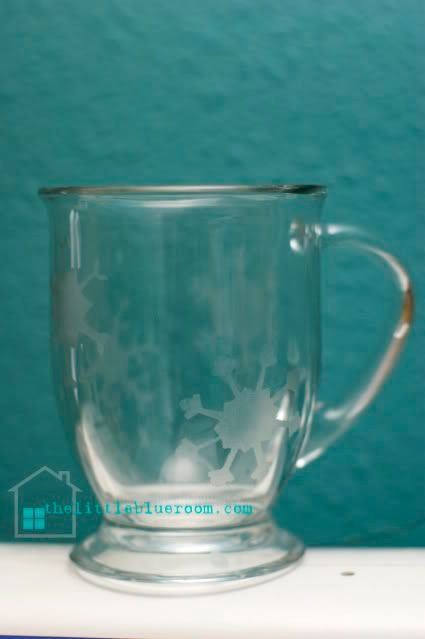
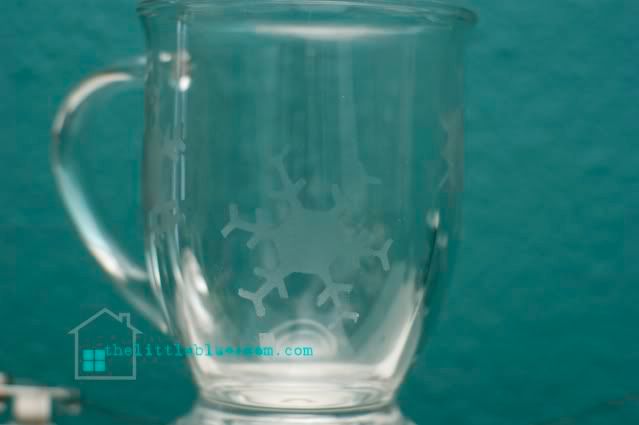
I purchased the glass etching cream last year and finally pulled it out. It was a little tricky but I think my decorated mug is pretty cute. I used the big shot to cut snowflakes out of contact paper. Stuck it to my glass mug and used the glass etching cream to make the snowflakes look frosty. You could do this on any smooth glass surface. Perfect for a jar filled with holiday candy, a plate of cookies, or a mug stuffed with hot chocolate mixes.

Photobucket

Photobucket

I hope my Stamp Club ladies enjoy our projects tonight.

Photobucket

Thursday, October 14, 2010

Homemade Christmas Goodies

Photobucket
Tonight at Stamp Club we are going to make some homemade Christmas goodies.
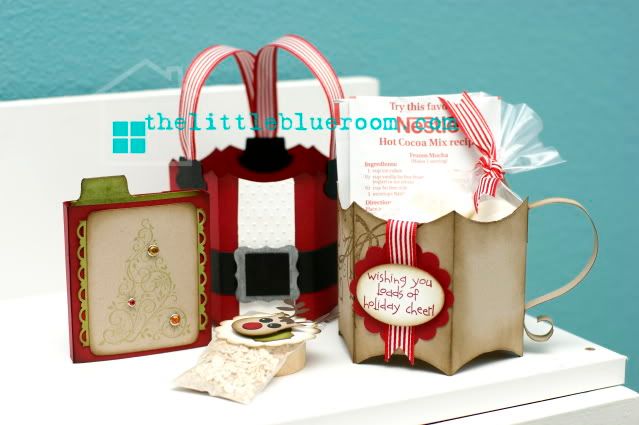
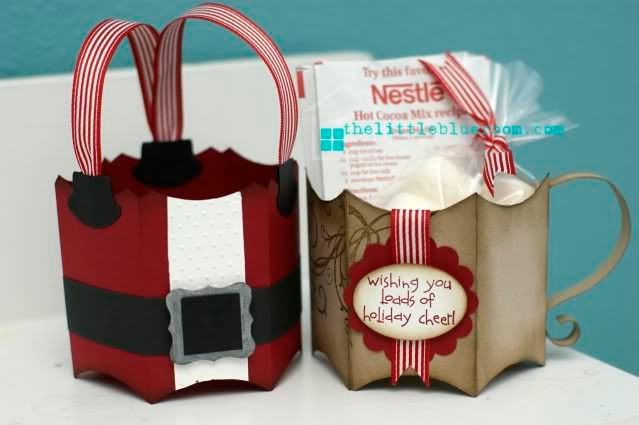
Using the Big Shot and the Pillow Box die I made this mug and santa overall gift boxes. You could fill them with all sorts of Christmas treats and gifts.
*Edited to add a link to the tutorial for the pillow box bucket >Click Here. I then added the suspenders using the Round Tab punch from SU! For the mug I just added a handle on the side.*
Photobucket
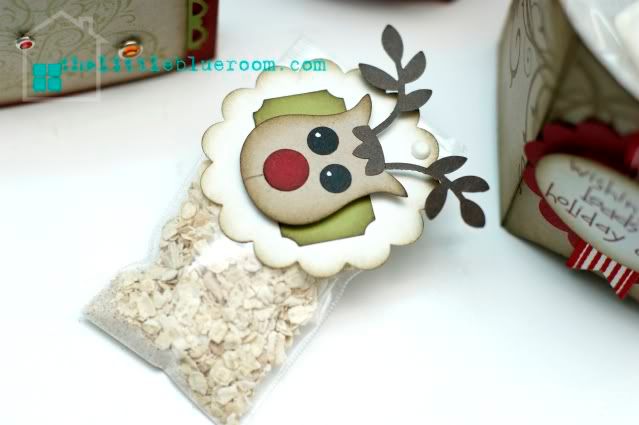
This adorable reindeer tag goes perfectly with a little bag of magic reindeer food.
Photobucket
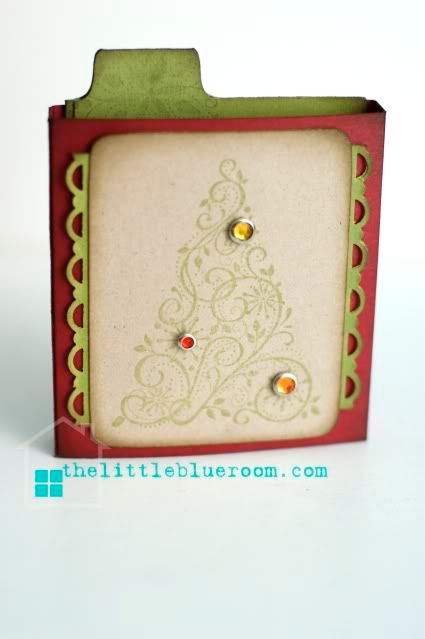
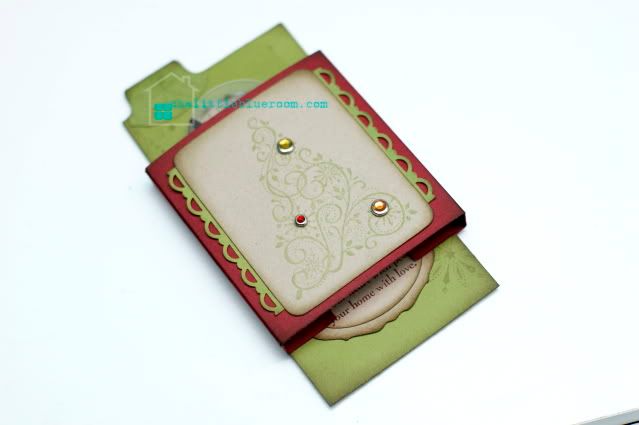
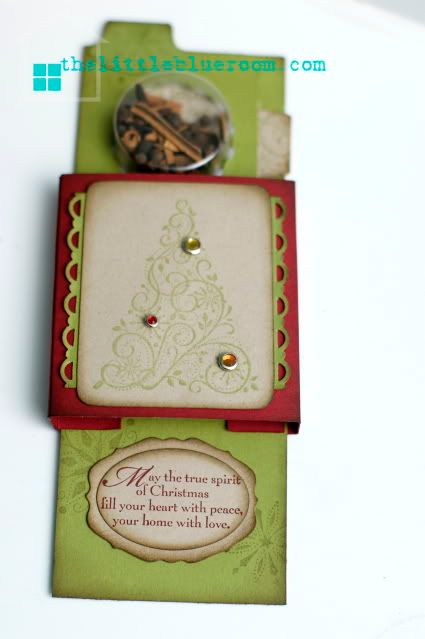
My favorite is this slider card using the treat cups. I filled the treat cup with simmering potpourri made with cinnamon sticks, whole all spice, and whole cloves. It smells wonderful!
Photobucket
Photobucket
Photobucket
Looking forward to girls night out and sharing these projects with my Stamp Club.
Photobucket

LinkWithin

Related Posts with Thumbnails
Disclaimer: The content in this blog is the sole responsibility of Rachel Ricks as an independent Stampin' Up! demonstrator and the use of and content of classes, services or products offered is not endorsed by Stampin' Up!

All content, including text, photographs, and concept design works, are ©Rachel Ricks. They are shared for personal/ non-commercial use and inspiration only.

Blog header and logo design © Rachel Ricks.

flash backs