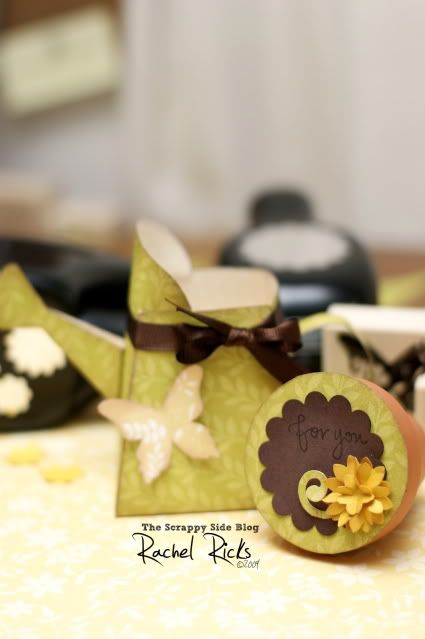
When I'm out and about I've always got an eye out searching for cute little gifts or fun things to alter and make crafty. I had found little flower growing kits packaged in a tiny flower pot with soil and seeds inside. Super cute. So bought a few thinking I could decorate them and give as a thank you or something. While visiting one of my favorite websites
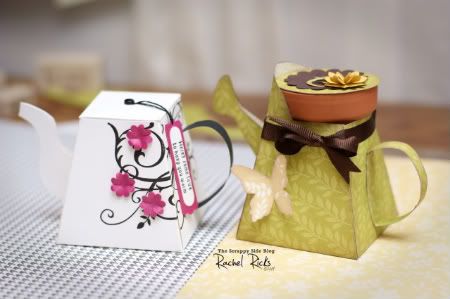
Splitcoast Stampers I came across these adorable paper watering cans. Right then I knew it would be perfect for my tiny flower pot. I was hoping the flower pot would fit down inside but the top was too large. I'm still in love with how it turned out!
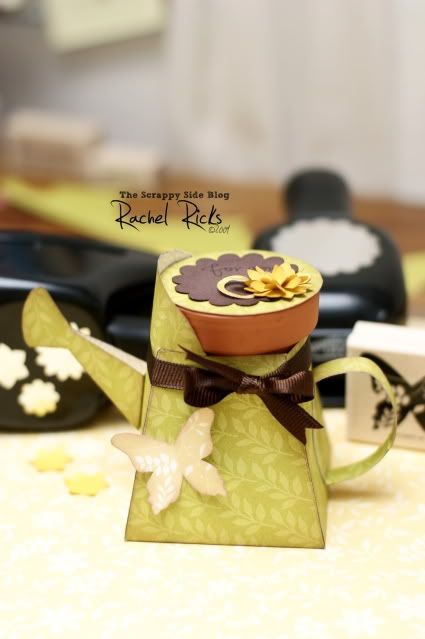
Since it is so easy and so cute I thought I'd share it for Make & Take Monday. Because there is a printable template it took little time to put it all together.
Step 1
Print the template from the link below on cardstock or patterned paper and cut out the four pieces: watering can body, spout, curved handle and back handle. Stamp any designs at this time.
Watering Can Template
Step 2
Working on the "wrong" side of the paper, score and fold the dashed red lines on the watering can body. I also inked the edges and folds to add depth.
Step 3
Apply adhesive to the folds on the "right" side of the paper and bring sides together to form the can body.
Step 4
Curve the front flaps and tuck into the sides of the watering can using a dab of adhesive to keep in place.
Step 5
Take the spout and fold with "wrong" sides turned to the inside as indicated by the red dashed lines in the template.
Step 6
Apply adhesive to the end of the spout's inner sides to hold them together.
Apply adhesive to the base of the spout and attach to the front of the watering can body.
Step 7
Attach the curved top handle ensuring that the handle curves to the back. (I didn't add this to my example because the flower pot would not fit.)
Step 8
To cover the printed words and the other side of the designer paper I cut a second strip for the handle for the back and glued the wrong sides together.
Fold the handle for the back on the dashed red lines as indicated in the template.
Step 9
Attach to the back of the can to form a ‘D’ shape.
Step 10
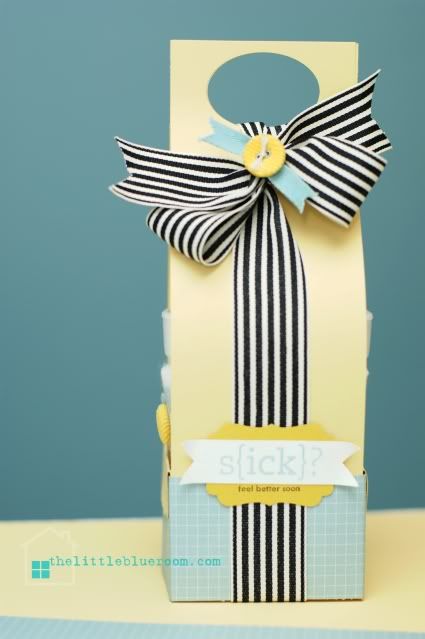
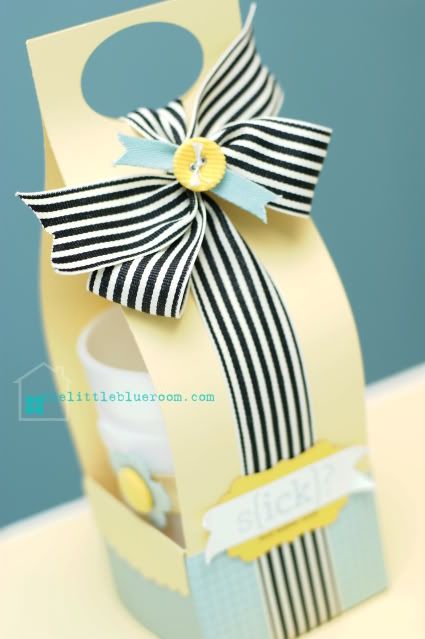
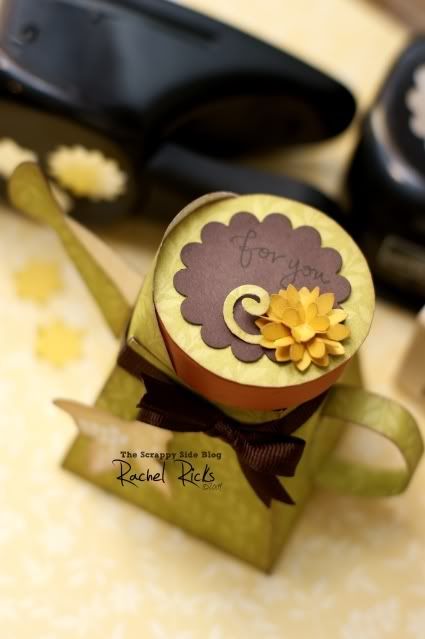
Now your can is ready to be decorated!
Stampin' Up Supplies:
Paper:
A Walk in the Park designer series paper (retired)
Chocolate Chip cardstock
So Saffron cardstock
Stamps:
Great Friend ( Butterfly and "for you")
Punches:
Scallop Circle
Boho Blossoms
Big Shot:
Swirls Scribbles Die
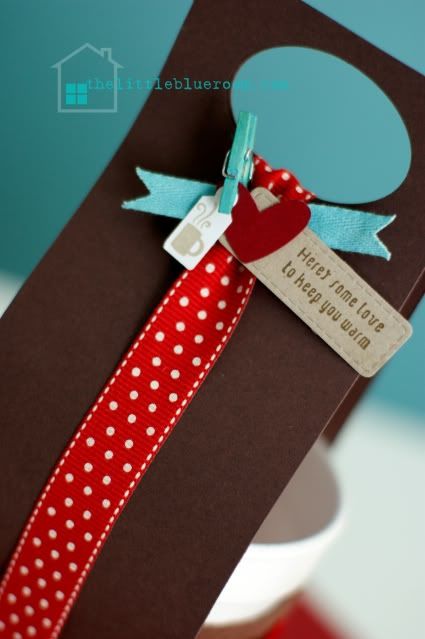
While I was working on my watering can I thought how easy it would be to use the same template to create a teapot. Of course I had to try it out right away.
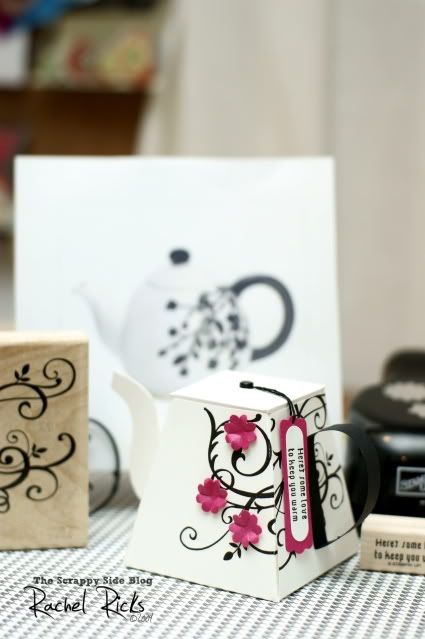
I changed the spout and created a lid, tada...a teapot. I used the picture of the teapot in the background as inspiration for my little paper teapot. It is just the right size to hold a few packages of herbal tea.
Stampin' Up Supplies:
Paper:
Whisper White cardstock
Basic Black cardstock
Melon Mambo cardstock
Stamps:
Baroque Motifs (swirls)
Cold & Cuddly (sentiment on tag)
Punches:
Boho Blossoms
Word Window
Modern Label
Two cute ideas from one template! Love it. I hope you enjoyed this Monday Make & Take. If you have any questions just ask. I'm happy to help. If you would like to purchase any Stampin' Up supplies, I'm here to help with that, too. Just email me at
r.ricks@mchsi.com to place an order.
We'd all enjoy seeing what you create. Simply add a link to a photo of your creation in the comments.
Hope you have a wonderful week.