Hello, blog friends! This post has been sitting on my computer since Monday. I love the technique but, I am not thrilled with my video. I do not like hearing my voice. The lighting is horrible because I recorded at night. It seemed like a good idea since the little ones were in bed and it was quiet. Today I decided I am still going to share the video with you because watching the shrinking process is the best part and I am really excited to share this technique with you. So, here it is...flaws and all.
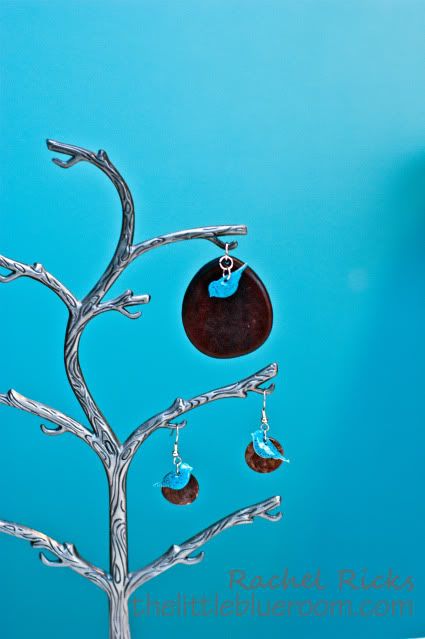
Wait, here's a pretty picture first to help me feel better about my ugly video. :) I attached a faux turquoise bird charm to a wood pendant to add to a necklace. My sister, Amy, took apart an old bracelet and designed the earrings. I just love them! She was nice enough to share her copper circles with all of us at Stamp Club. (Thanks, girl!)
{I feel better now. Thanks!}
(Not sure about the volume settings so you may need to turn it up or down on your computer. I'm new to this, I don't know.)
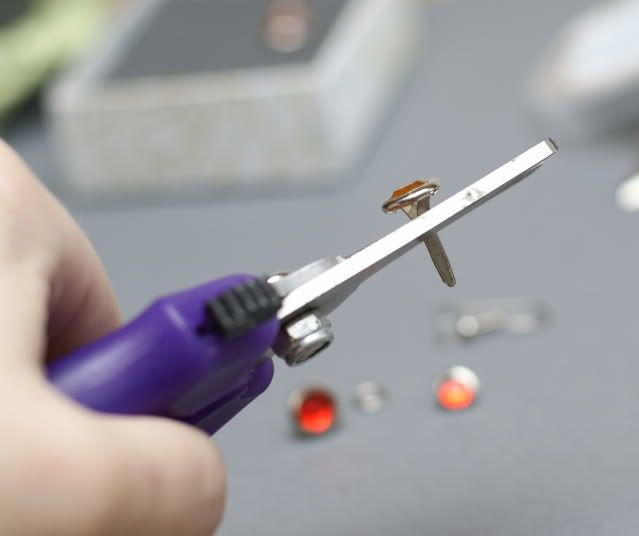
Stampin' Up! rhinestone brads (I used one medium and one large rhinestone brad for each earring)
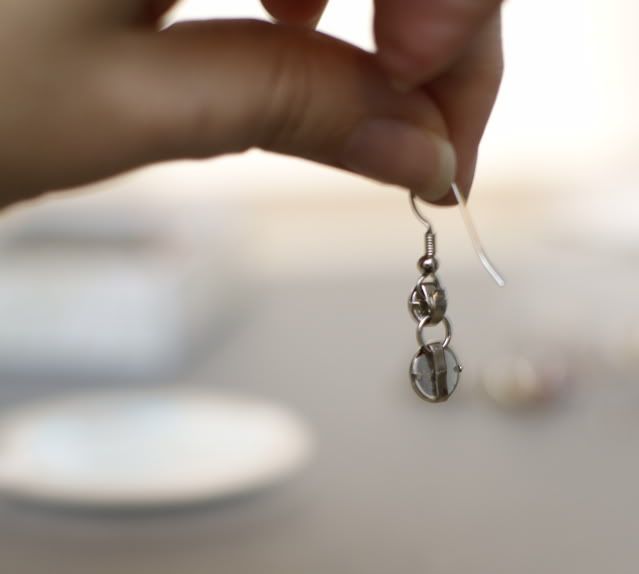
2 Fish Hook Wires
2 Round Jump Rings 6mm
First cut the ends of the brads prongs just where the prongs begin to seperate to attach to the brad.
Slide one prong of the medium brad into the loop on the fish hook earring and fold down prong.
Slide the other prong of the medium brad into the jump ring and fold flat.
Slide one prong on the large brad into the jump ring and fold flat.
Repeat for the second earring.
You can also make a matching bracelet using these brads and the jump rings. You will need to add a clasp to the end. You can buy those in the same section as the jump rings and fish hook earrings in your local craft store.
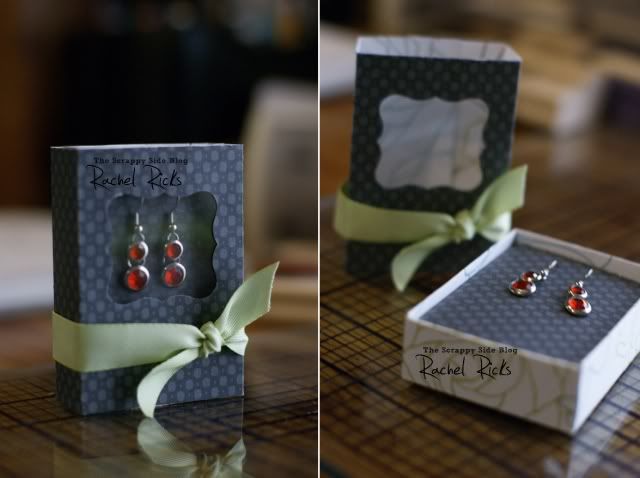
Thanks for visiting my blog. Hope everyone has a wonderful week!
Disclaimer: The content in this blog is the sole responsibility of Rachel Ricks as an independent Stampin' Up! demonstrator and the use of and content of classes, services or products offered is not endorsed by Stampin' Up!