
Step 1
Cut a 5x12 inch strip. Fold the strip in half making a 5x6 inch rectangle and run it through the Big Shot making 2 scallop envelope die cuts.
Fold on all creases, folding the scallop flap opposite of the side and bottom flaps.

Step 2
Cut 2 strips in the remaining cardstock measuring 3 1/4x12 inches.
Score strips at 2 inches from the bottom.
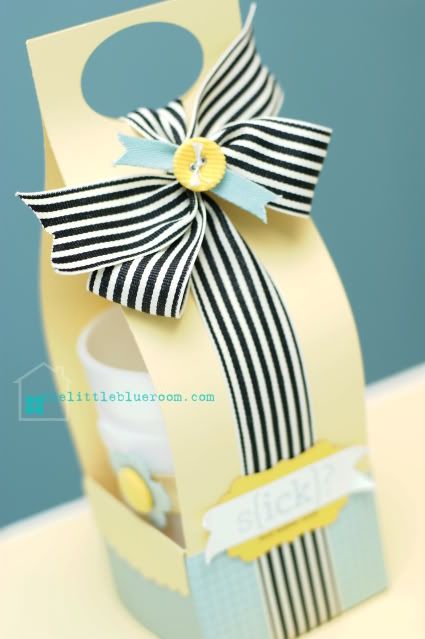
Punch a handle using the large oval punch at the opposite ends. (see photo above)
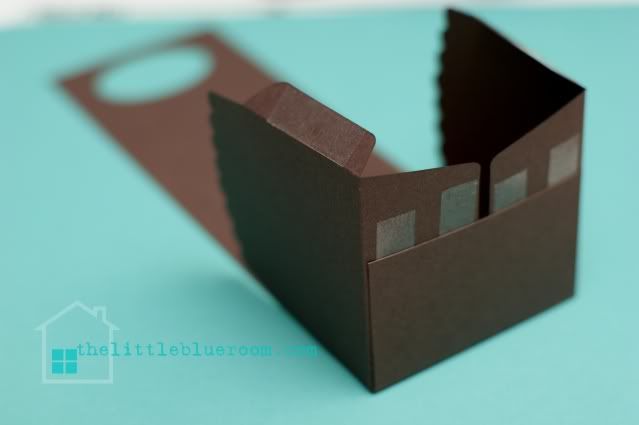
Step 3
Place adhesive on the flaps of the envelopes and adhere the side envelope flaps to the 3 1/4 strips.
Fold in bottom flaps and adhere.
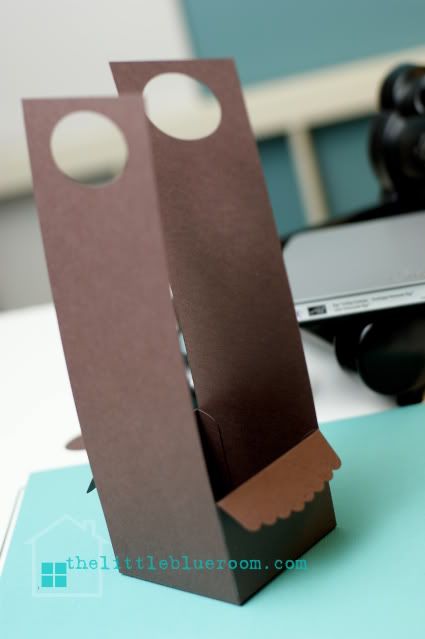
Step 4
Cut a 2 1/4 inch strip in coordinating designer paper or cardstock and adhere around the bottom portion of the carrier, going under the scallop flaps. This will not reach all the way around, so cut and 2 1/4x2 inch piece to fill in the gap.
Adhere the scallop flaps to the side to keep them down. (no photo for this step, oops)
Step 5
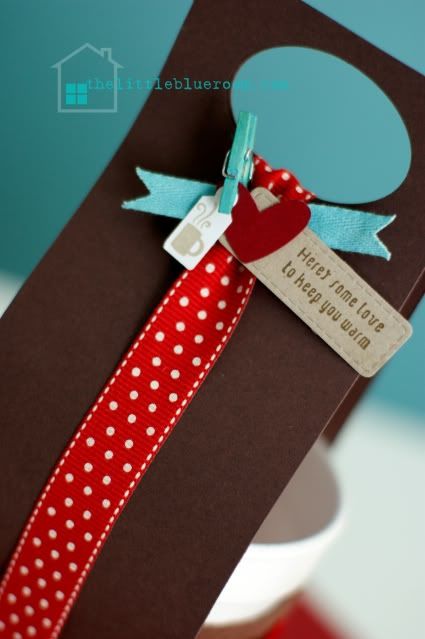
Decorate.
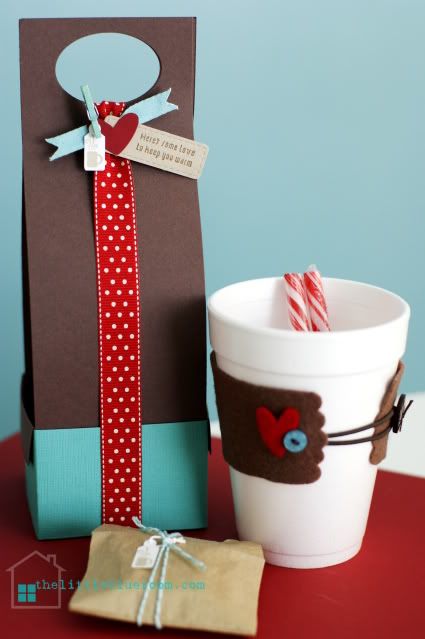
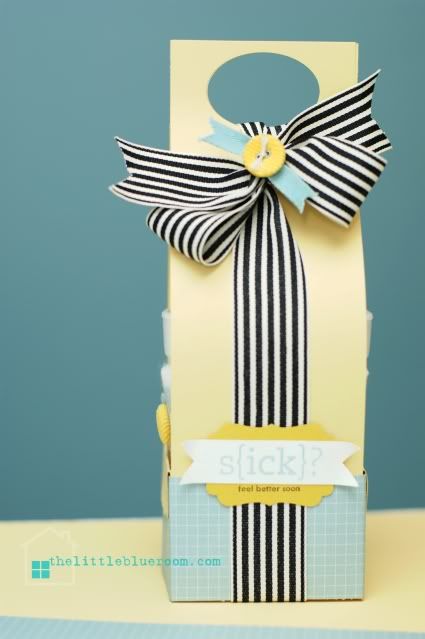
Tip: Run a strip of ribbon through the handle and attach to the bottom of the carrier with double sided tape, then using a different strip of ribbon, tie a bow just below the handle. Tell the recipient to peel the ribbon from the bottom to make it easier to open and the packaging stays nice and pretty.
I hope you enjoy this tutorial. If you have any question feel free to ask, I'm happy to help!
If you create your own Cute Carrier please share it with us using Mister Linky below my signature. I look forward to seeing your projects!
Thanks for visiting.

7 comments:
This is cute as can be. Thanks for the tutorial!
Hello!
Just to say, Love your blog.
Regards
Cata
un blog bellissimo grazie per aver condiviso queste meraviglie.....con affetto ..laura
Hello, nice blog, breath taking inspiration!
Thank you, Rosa Merliza
Place adhesive on the flaps of the envelopes and customised carrier bags adhere the side envelope flaps to the 3 1/4 strips.
Me parece sencillamente precioso
Does It can balance the weight of glass mug..?
Post a Comment