Wednesday, September 1, 2010

Party This Way

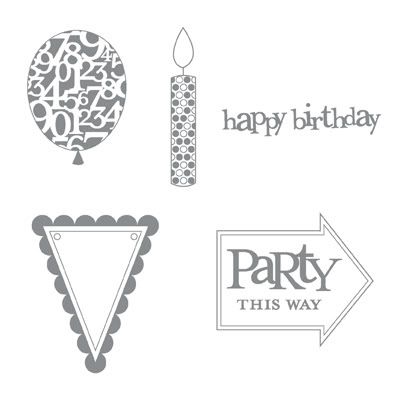
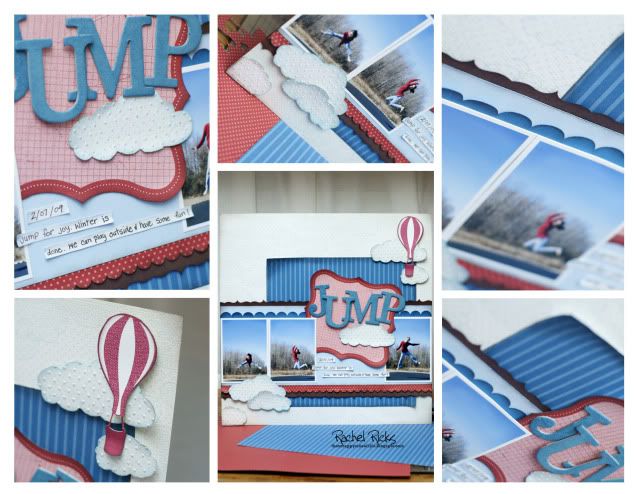
I knew I liked the pennant stamp from the Party This Way stamp set in the catalog but now that I've been able to use it, LOVE it!
Photobucket

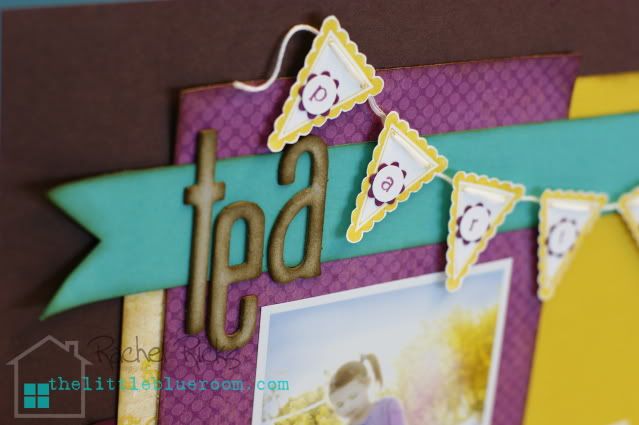
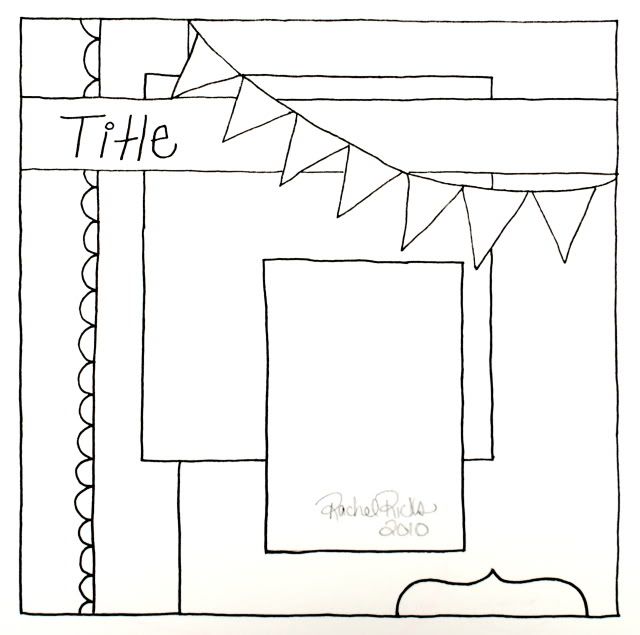
 I finally made some time to use both the sketch I posted a little while back and the Party This Way stamp set.

Photobucket
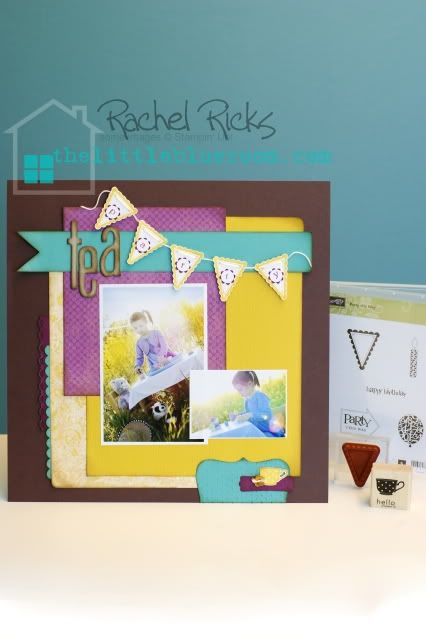
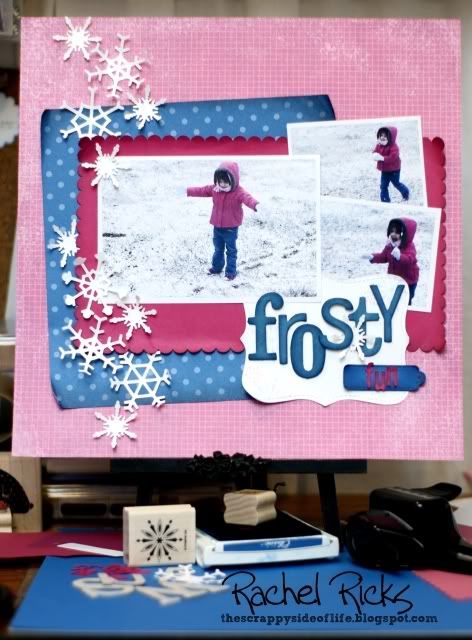
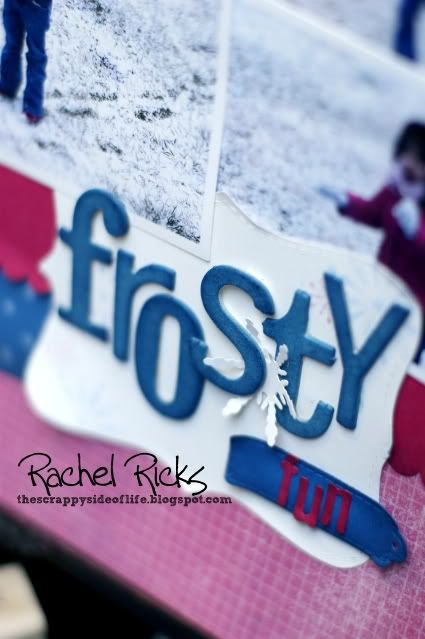
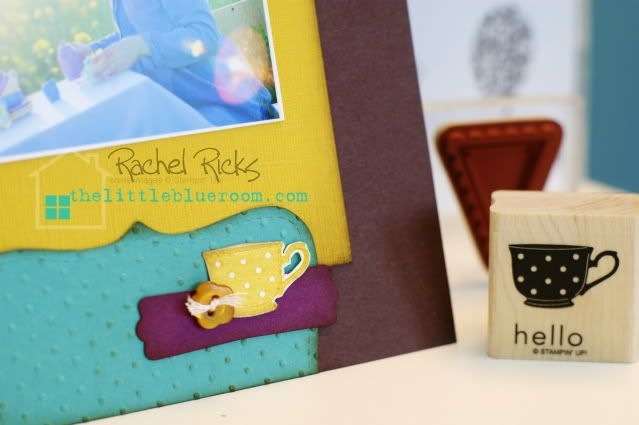
The tiny polka dot tea cup looks adorable at the bottom of the page.
Photobucket


Thanks for stopping in to take a look!

Photobucket

I'd love to show you how to create this. Host a Stampin' Up! party and I'll come to your home and demonstrate for you and your friends how to make this or another creative project. Email Rachel to set up your next Stampin' Up! party.

You can also order the items you need to create this project shopping Stampin' Up! online. Remember to select Rachel Ricks as your Demonstrator and get the preferred price. You can also email Rachel to place your order and have everything shipped to your door.
Thanks!

Paper:
Soft Suede cardstock
Bermuda Bay cardstock
Rich Razzelberry cardstock
Crushed Curry textured cardstock
Whisper White cardstock
Razzelberry Lemonade designer paper pack
 
Stamps:
Tiny Teacup
Party This Way
 
Punches and Die Cuts:
Scallop Edge punch
Scallop Trim punch
Modern Label punch
Top Note die cut in the Big Shot
Perfect Polka Dots embossing folder in the Big Shot
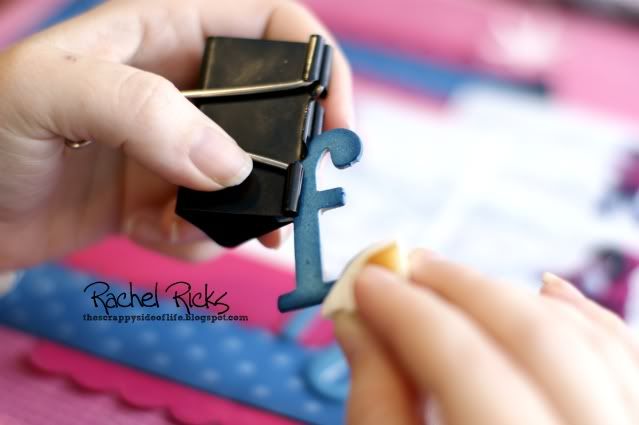
 
Chipboard Letters:
Alphabet Soup
 
Accessories:
Designer Buttons

Saturday, July 10, 2010

Pennant Sketch

Pennants are everywhere these days... on scrapbook pages, cards, and other paper crafts. You can even find a pennant stamp in the newest Stampin' Up catalog.

Photobucket


That set is for sure on my wish list. I love the scallop pennant!

I haven't used pennants on a layout yet so I decided to sketch something up.

Photobucket


I hope to have time to use this sketch soon. In the mean time, I'd enjoy seeing how your pages turn out. Leave a link to your layout in Mr. Linky below.


Hope you've had a wonderful weekend!

Monday, February 1, 2010

Make & Take Monday {Sketch}

I hope everyone enjoyed the weekend. Here's a sketch to start of the week.

Photobucket


Photobucket


The only thing I don't like about the layout is the title. I could not think of anything creative.

Photobucket


Supplies -

Paper and Cardstock:
Bashful Blue Cardstock
Chocolate Chip Cardstock
The Write Stuff Specialty Paper - this pack includes 3 sheets of die cuts. One being the red shape behind my title.
Tall Tales - I cut the red hot air balloon from this paper.

Discontinued
Pacific Point Patterns and Cardstock
Sweet Slumber Specialty Paper - the cloud paper


Punches:
Scallop Edge
Curvy Label - punched side by side to create the edge on the Chocolate Chip cardstock.
Slit - if you punch the slit punch side by side it will create a large scallop edged strip.


Big Shot:
I used Polka Dots Impressions Folder in the Big Shot to emboss dots onto my popped up clouds.


Chipboard:
On Board Timeless Type - I used a sponge and Pacific Point ink to color my chipboard letters.

Thanks for visiting my blog. Hope you enjoy the sketch. I'd love to see what you create. Please add a link to your layout created using this sketch.

P.S. My comments have been moved to just under the title. Not sure how that happened. :)


Monday, January 18, 2010

Make & Take Monday


It has been a really long time since I've shared a sketch. A year or more I think. Someone found my sketch blog Scrapbook Page Possibilities about a week ago and left a comment wondering if I was going to post more sketches. I dug out my sketch notebook and found lots of sketches I'd drawn up but never shared and never used. So I thought I would start sharing a sketch once or twice a month.

Photobucket


I've inclued the measurements of the papers and photos to help make it that much easier to use and plan your page.

Here's a page I've created using this sketch.

Photobucket


I used snowflakes in place of circles but you could use flowers, butterflies, stars, all sorts of fun things. I titlted the blue paper a little and used two wallet size photos instead of one 4"x4".

Papers:
Razzleberry Lemonade
Melon Mambo
Pacific Point
Whisper White

Punches:
Scallop Edge

Photobucket


Big Shot Dies:
Snowflakes #2 set
Lots of Tags
Top Note
Billboard Decorative Strip

Photobucket


Chipboard
Loads of Letters

Tip - An easy and quick way to color chipboard is to use a sponge dipped in an ink pad. Don't want to get messy fingers? Use a binder clip to hold the chipboard while you sponge. I used a huge clip but any size should work.


Photobucket


Below you will find Mr. Linky. You can easily share your pages created using this sketch by filing out the form below. I look forward to seeing what you create!!

Hope you are having a wonderful Monday. Thanks for visiting.

LinkWithin

Related Posts with Thumbnails
Disclaimer: The content in this blog is the sole responsibility of Rachel Ricks as an independent Stampin' Up! demonstrator and the use of and content of classes, services or products offered is not endorsed by Stampin' Up!

All content, including text, photographs, and concept design works, are ©Rachel Ricks. They are shared for personal/ non-commercial use and inspiration only.

Blog header and logo design © Rachel Ricks.

flash backs