Sorry so late. With our children out of school this week for fall break it has been a little crazier than normal.
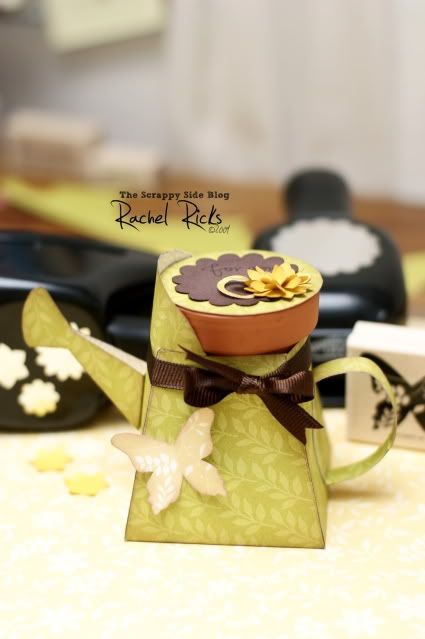
I wanted to make a little thank you for a friend. She has been teaching girls ages 8 - 12 at our church how to sew. I knew I wanted it to have a sewing theme. I saw a sewing kit while out shopping and thought the tiny spools of thread and scissors were super cute. I grabbed it thinking I could use it somehow. I thought a sewing basket would be cute. I googled sewing baskets and a pretty nantucket basket came up in the search. So I took
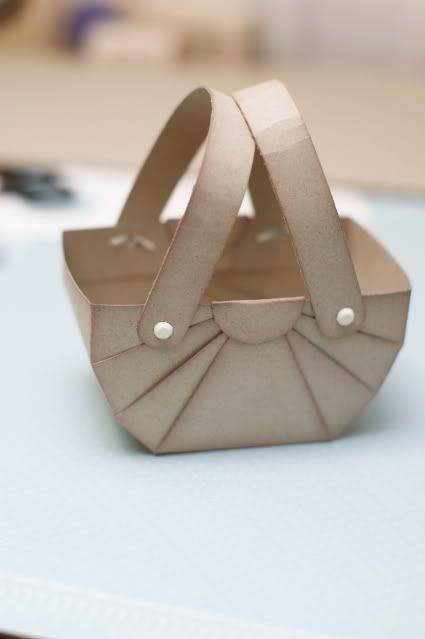
the basket I made last month with my stamp club and tweeked it a little bit more using the nantucket handles as inspiration. I really like how it turned out and thought you may enjoy learning how to make one as well.
I created the basket idea using a basket called 2, 4, 6...I think. Then just built the design from that.
You will need:
6x6 square carstock or designer paper
2 one half x 6 inch strips of cardstock or designer paper
scoring tool
scissors
1" circle punch
corner rounder
4 brads
adhesive
Step one
Score your 6x6 inch square at 2 inches and 4 inches
Turn and score again at 2 inches and 4 inches
The scored lines will create something that looks like a tic-tac-toe board
Step Two
Following the score lines cut 2 inches deep at the 2 inch line and 4 inch line
Do the same on the opposite side
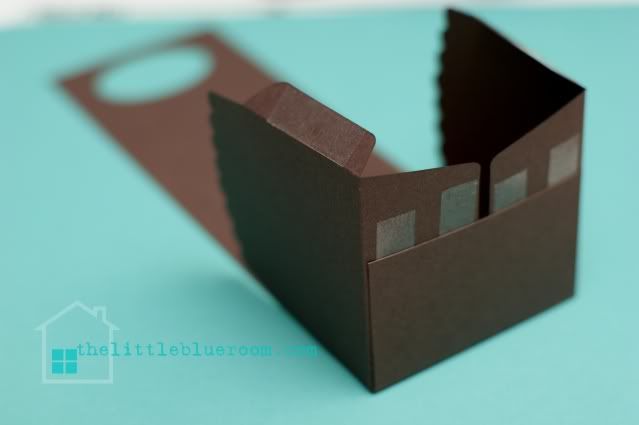
It will look like this:

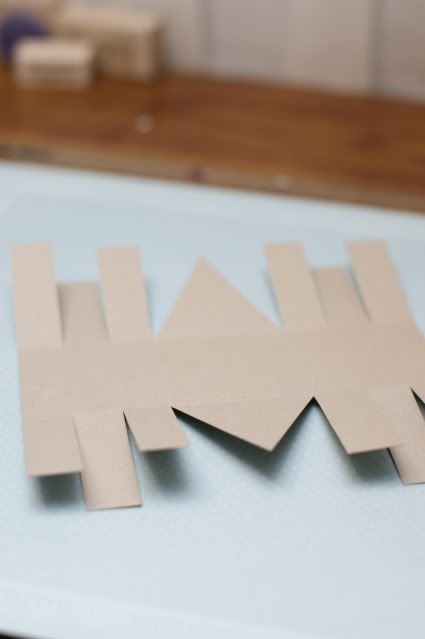
Step Three
Cut the center flap into a triangle and both side flaps into thirds.
Like this:
Step Four
Trim 1/4 " off of the 2nd and 3rd strips (counting from the outside edge)

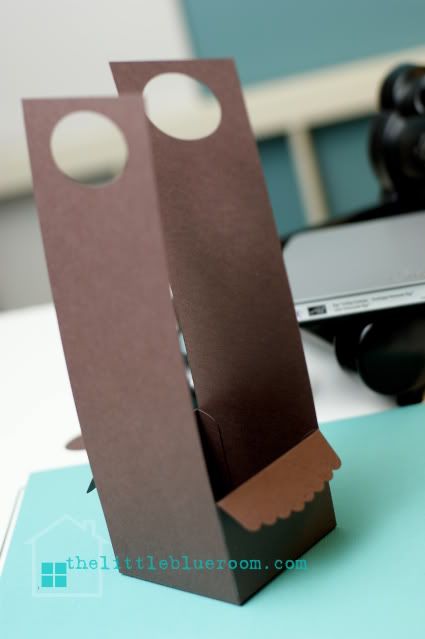
Step Five
Starting with the first and longest strip bring the two side together and attach.
Then layer the next two and then the last two.
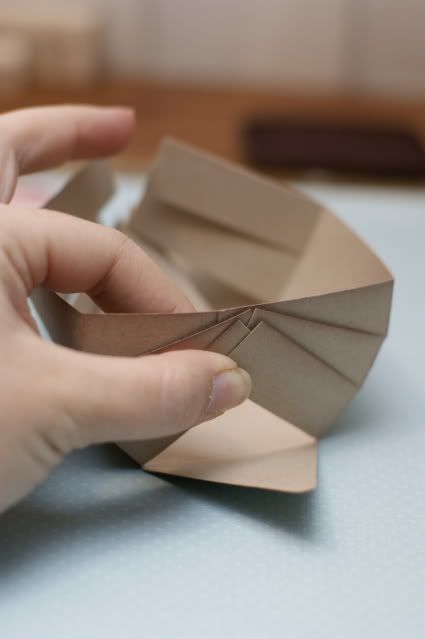
Then attach the triangle flap on top of the flaps.
(I inked the edges of everything first to give it more depth)
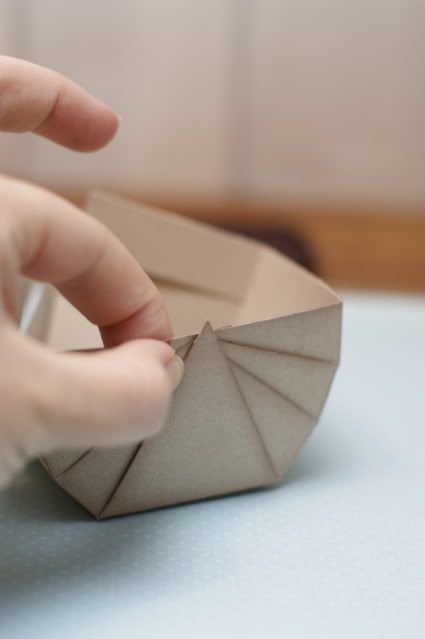
Step Six
Punch two 1" circles. Attach them over the points of the triangle. (I trimmed the point off before attaching the circle)
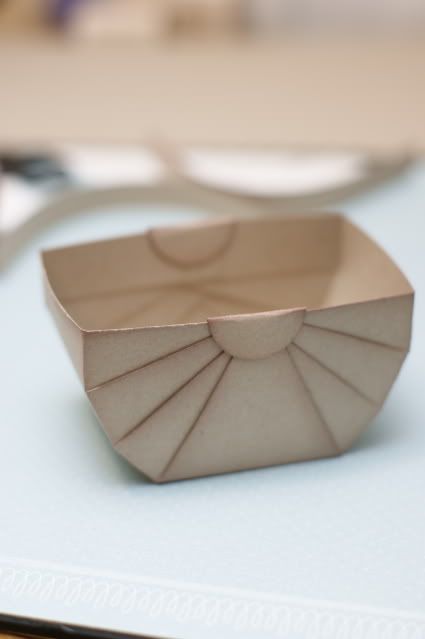
Step Seven
Cut two 1/2" x 6" strips. Use a corner rounder on the ends.
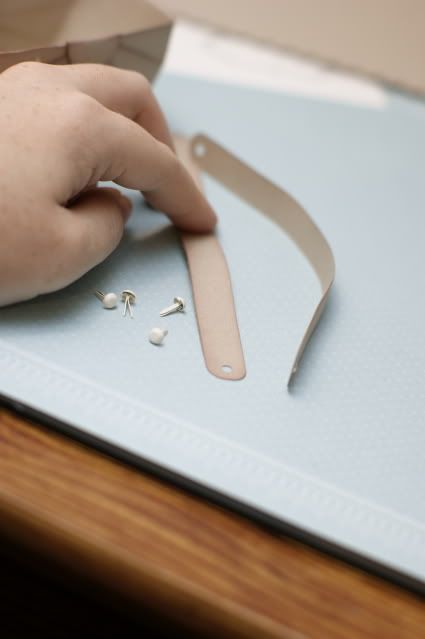
Attach about 3/4 inches from the end of the basket with brads.
Step Eight
Decorate!
You can add layers of paper onto the bakset, line the inside, create an edge, stitch on the basket, so much potiential.
I kept this one simple.
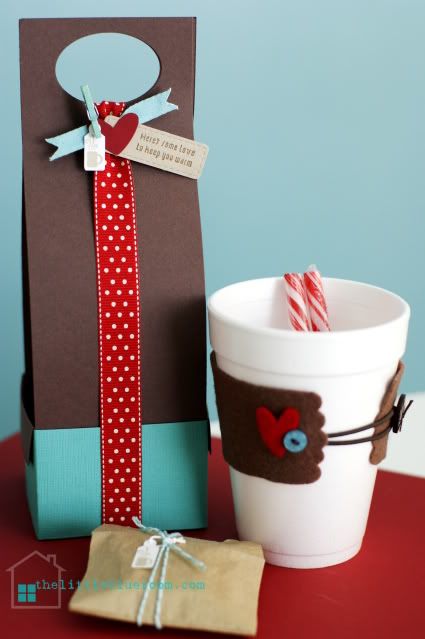
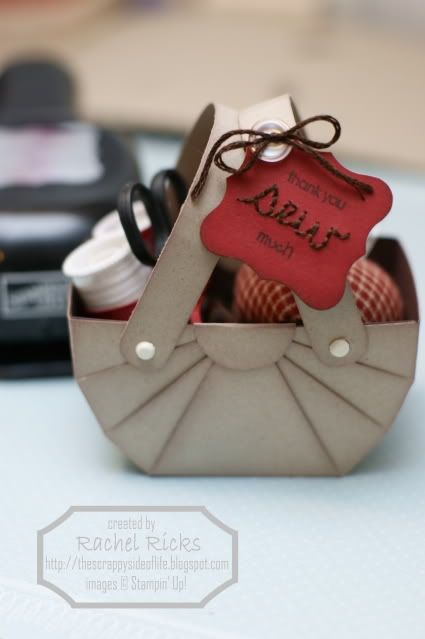
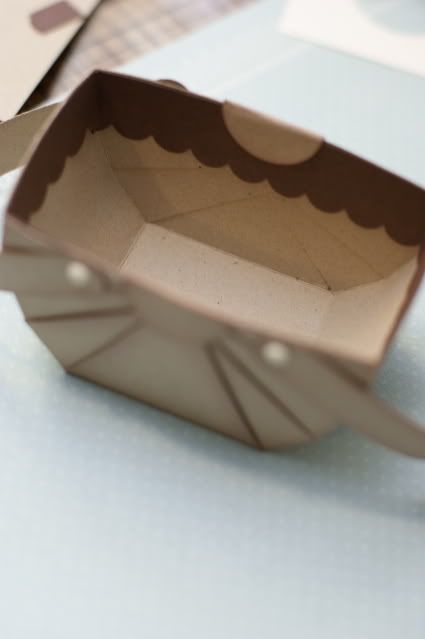
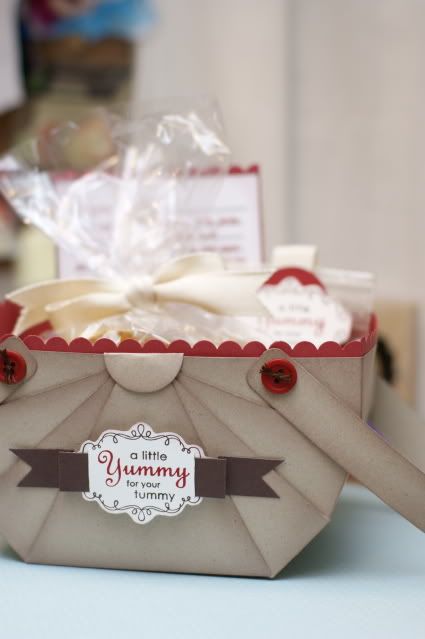
I wanted to cover up the brad backs so I added a strip of scallop edge paper on the inside.
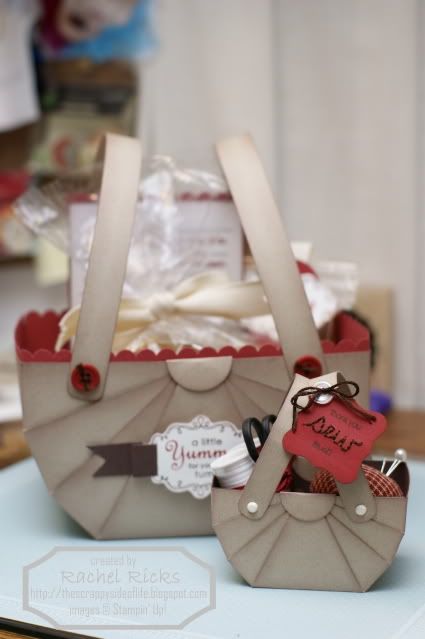
Then I punched a tag using the Curly Label punch. I stamped "thank you" and then stitched the word "sew" below. Since I don't have a small stamp that says much I just hand wrote it under "sew." I added a button and used embroidery floss to tie the tag to the basket.
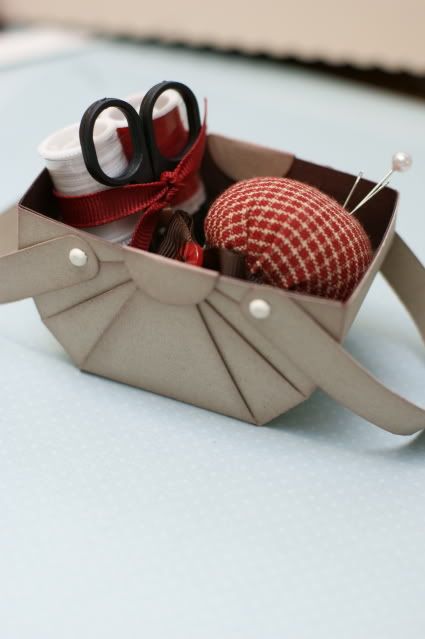
Inside I have 4 tiny spools of thread wrapped in a strip of Window Sheet paper to keep them in place, tiny scissors, and a tiny wrist pin coushin I made.
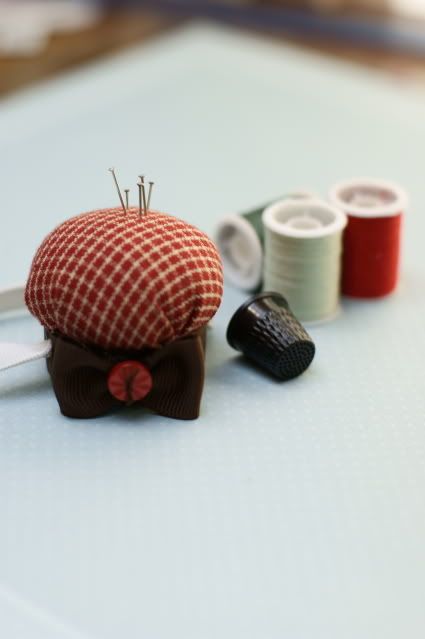
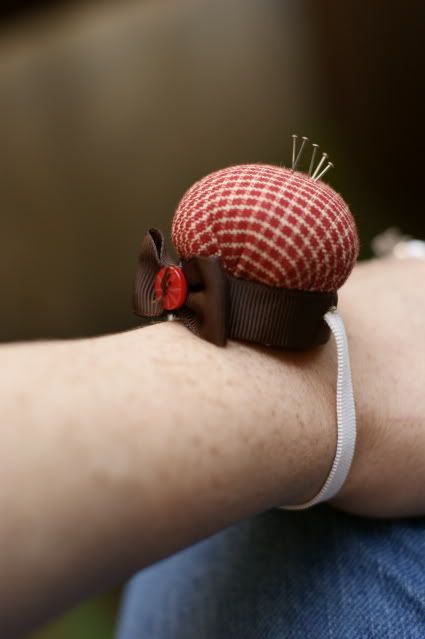
I used
this tutorial (click here)to make the pin coushin. The only thing I changed was, I added the elastic by punching holes on opposite sides using the cropodile, threaded the elastic through and tied it in knots at the ends.
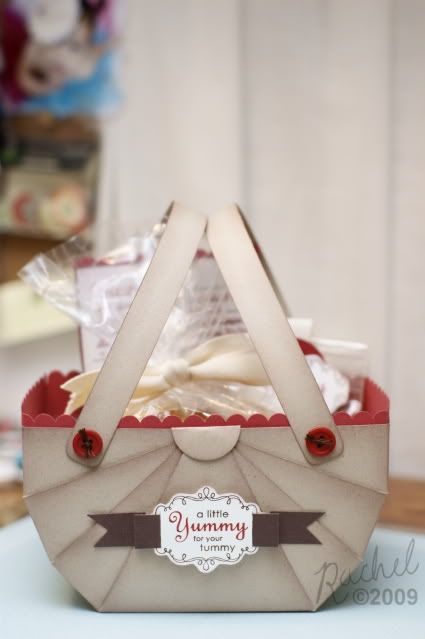
The COOLEST thing about this basket design is you can make the same basket in 3 different sizes!! You can use a 6x6 inch square, a 9x9 inch square, or a 12x12 inch square. Just score your square into thirds and go from there. So I
HAD to try out the largest. All put together it measures 4 inches deep and just under 7 inches across!
Again I kept the decorating simple this time.
I filled this one with a bag of tortillia chips, a packet of seasonings to use to make the best chili ever, and the recipe.
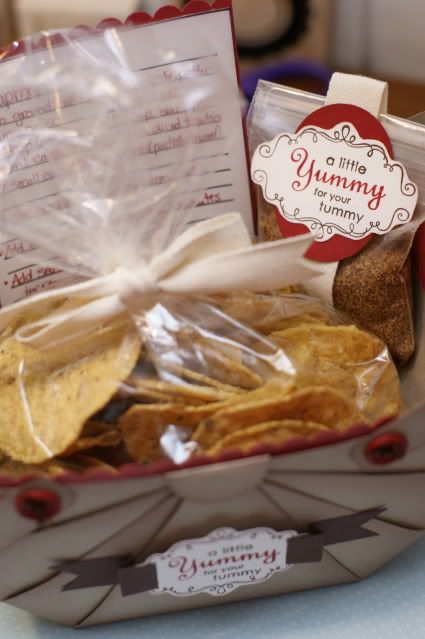
I wasn't really planning on making this basket so I didn't have all the things I'd like to add on hand. I think a nice pot holder and laddle would be nice added to this gift basket. Instead of chips a cornbread kit and a small decorative muffin tin may fit. Tons of ideas! You can decorate this with so many themes and fill it with so many goodies.
Hope you think it was worth the wait, since I was late.
I'd love to see any of your decorated baskets and ideas. Just leave a link to a photo of your creations in the comments so we can all be inspired.
Have fun creating!