
Mondays are now Make & Take Monday when I share a project with you including all the how to's so you can make it along with me.
Now on to my first official Make & Take Monday post.
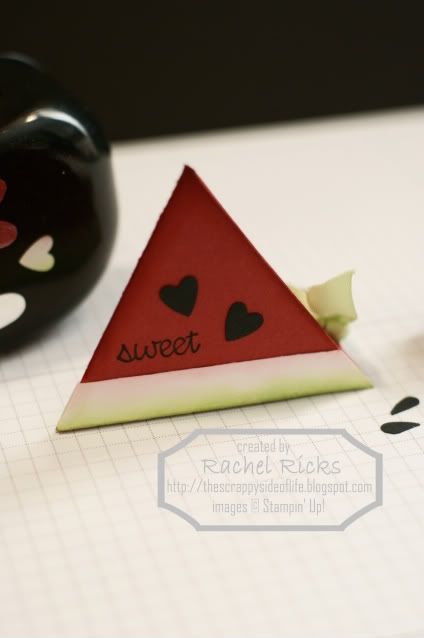
My sister is planning my nephew's 1st birthday party and decided on a watermelon theme. Now I am seeing watermelons everywhere as I help search for cute ideas to share with my sister. I found this super easy triangle box on splitcoast.com and immediately thought watermelon slice, LOL! Usually the box lays flat but I turned it to the side to make it look more like a slice of watermelon.
You can make these boxes many different sizes. Just keep the length of your cardstock two times the width (4" x 8" or 5" x 10" and so on).
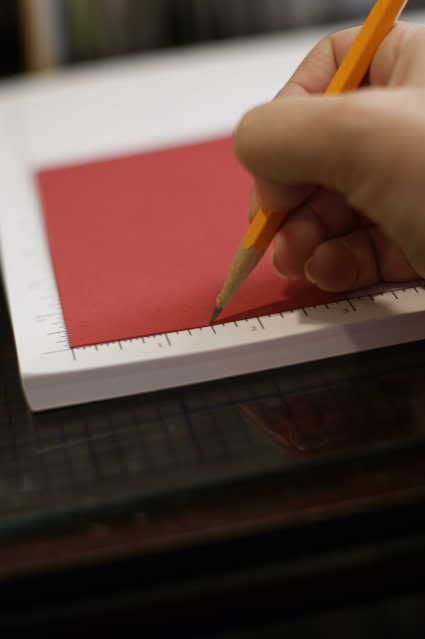
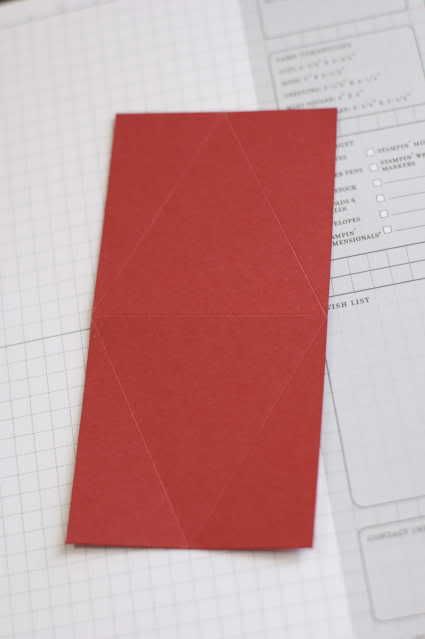
I used a 3" x 6" piece of Riding Hood Red cardstock to create mine today.
1) After you cut your paper to size, mark the centers of the skinny ends with pencil.
2) Score your cardstock in the center of the wide side.
3) Line up the mark you made on one of the short sides with the middle of wide side then score to create a diagonal score line.
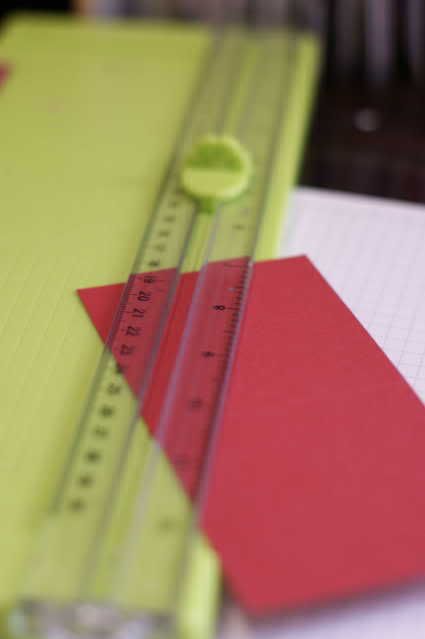
4) Line up the mark on the short side with the middle of the wide side again and score to create a triangle.
5) Do this again on the other side.
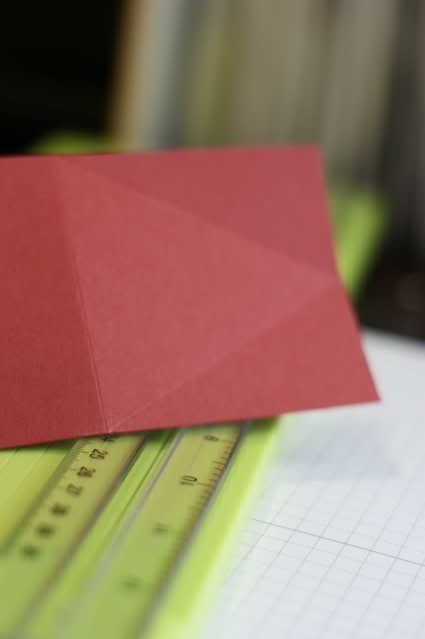
6) On scored lines fold in half and then fold in the flaps. If you plan to stamp on your box it is better to stamp before folding the box. I stamped sweet in Basic Black ink on my box.
7) Add adhesive to the edge of one of the small flaps and seal the two flaps together.

8) On the other set of flaps punch a hole so ribbon can be pulled through and tied to keep closed.
9) Fill your box with goodies then thread the ribbon through and tie closed.
10) Now it's time to decorate!
I wanted to create a rind for my watermelon slice. So I cut 2 strips of Whisper White cardstock and sponged one edge with Pretty in Pink ink (101301) and on the other side I sponged the edge with Certainly Celery ink (105217).
Next I punched the smallest hearts from Basic Black cardstock using the Heart to Heart punch (113694). I had planned to cut the hearts in half creating seeds, which you can do, but I ended up liking the full hearts.
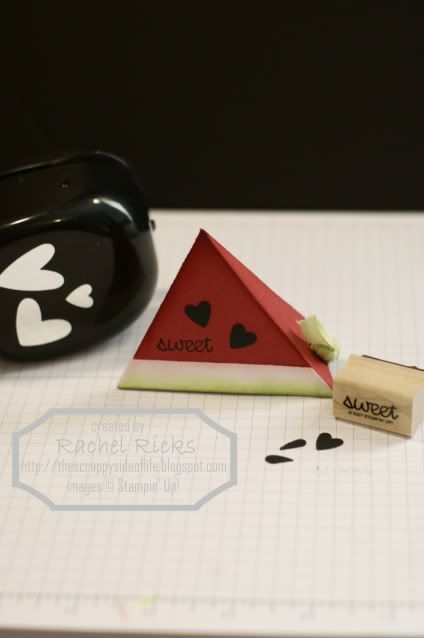
I think it turned out pretty darn cute! What do you think?
I hope you enjoyed. If you create a triangle box I'd love to see all the different ways you decorated yours. Just post the link to a picture of your creation in the comments.
Thanks for visiting!
2 comments:
So cute! I'm grateful for all the creative ideas you find and create for me!
you have a mind of a creative genious rachel! You come up with the cutest things! Your blog rocks!
Post a Comment