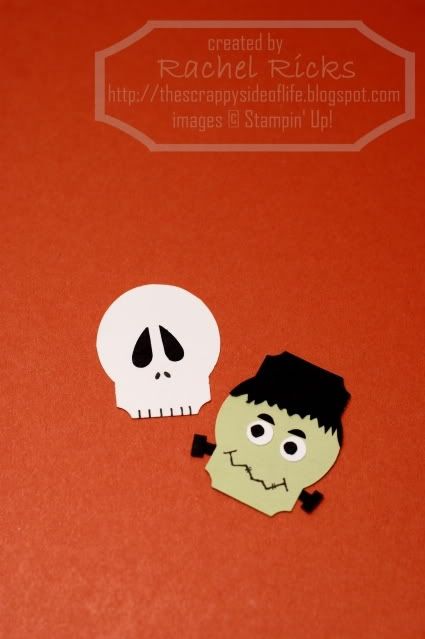
With Halloween right around the corner I thought it would be fun to share how to make 2 cute frightful friends. You could use these on cards, as scrapbook embellishments, as tags on treat bags, any Halloween craft.
You will need the Designer Label Punch (107590). I also used the Heart to Heart Punch (113694), 1/4" circle punch, and 1/8th" circle punch. Cardstock, I used black, white, and green. A fine tip black pen.
We will start with the skull. He's so easy to make, it's scary! Haha.
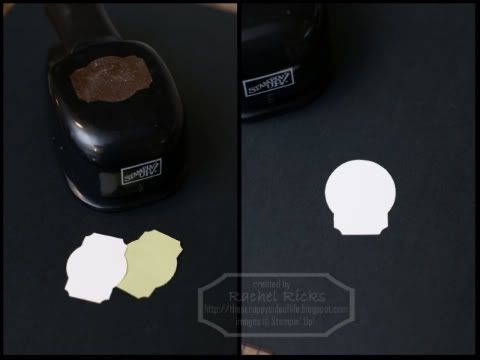
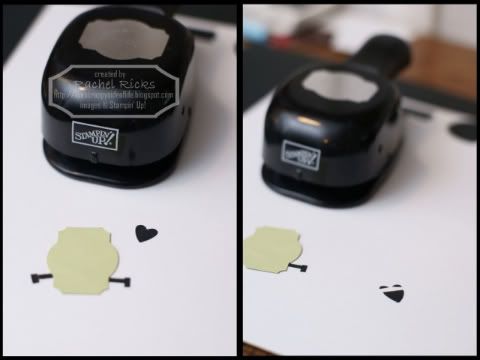
First punch a Designer Label out of white cardstock, then trim off one end following the curve of the circle. Tip: I punched a circle and matched it up with the circle part of the Designer Label punch and traced it on the back so it was easier to cut.
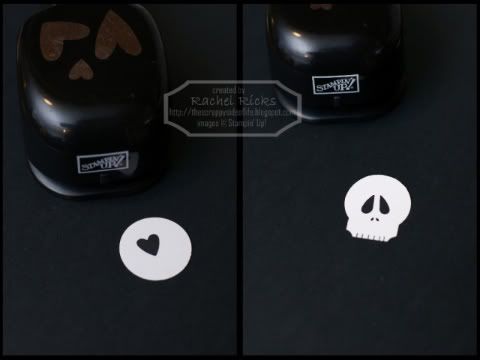
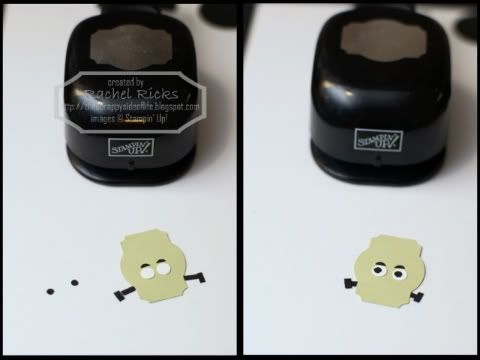
Next punch a small heart in black using the Heart to Heart Punch. Cut the heart in half and attach upside down and separated a bit to the Designer Label punch creating eye sockets for your skull. (Don't have the Heart to Heart punch yet...you can cut 2 small raindrop shapes to use as eyes) Next I simply drew on nose holes and teeth lines to finish my skull. See, super easy.
Now on to Mr. Frankenstein.
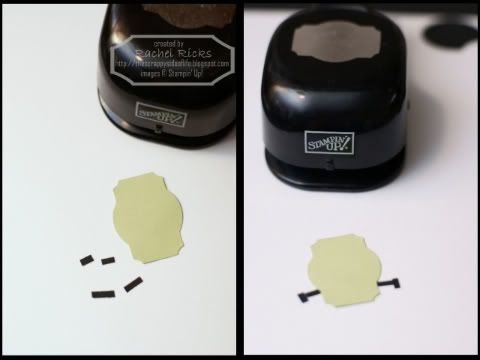
First punch a Designer Label out of green cardstock. Then cut small thin rectangles out of black cardstock. I don't have exact measurements for these, just what you think looks good. These are the bolts.
Next punch the smallest heart using the Heart to Heart punch out of black cardstock, then trim off the two humps. These will be the eyebrows.
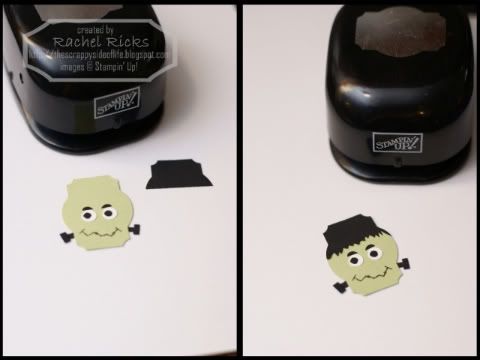
Punch in white cardstock two 1/4" circles. Punch two 1/8" circles out of black cardstock. Place the "eyebrows" on the Designer Label, then place the white circles below the "eyebrows" and the small black circles on top of the white to create eyes. Tip: I used liquid glue, it is easier to use on such small pieces.
Now punch another Designer Label out of black cardstock and trim it right above the eyes on Franky. Then cut zigzag fringe for his hair and attach. Draw on a mouth and your done.
Hope you enjoy these 2 frightful friends. If you use these I'd love to see what you create. Add a link to a photo of your creation in the comments so we can all be inspired by each other's work.
I was able to participate in an online crop this weekend and I was able to finish quite a few scrapbook pages. I'll be sharing those with you throughout the week.
Hope you having a wonderful Monday.
Disclaimer: The content in this blog is the sole responsibility of Rachel Ricks as an independent Stampin' Up! demonstrator and the use of and content of classes, services or products offered is not endorsed by Stampin' Up!
All content, including text, photographs, and concept design works, are ©Rachel Ricks. They are shared for personal/ non-commercial use and inspiration only.
Blog header and logo design © Rachel Ricks.

1 comment:
too cute! I'm amazed at how many ways you use your punches!
Post a Comment