
1/8" circle punch
1/2" circle punch
cardstock
paper trimmer
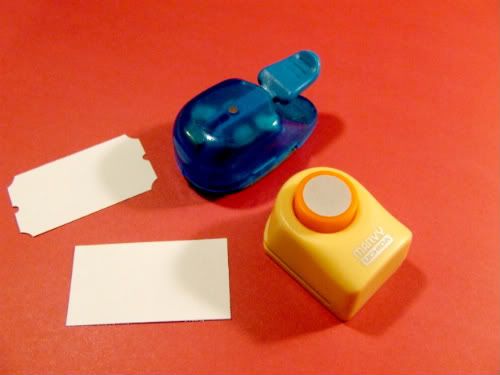
Cut the cardstock into a rectangle. I cut mine 1 1/8" by 2 1/8."
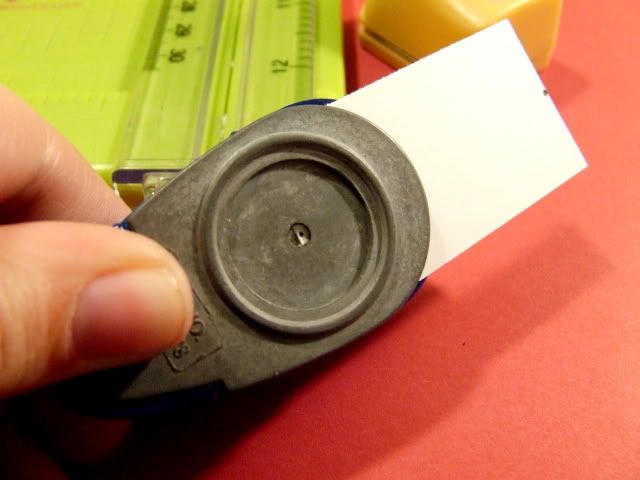
Mark the center of the ends with a pen.

Place the 1/8" circle punch over the mark and line up the edge of the paper to the center of the circle.
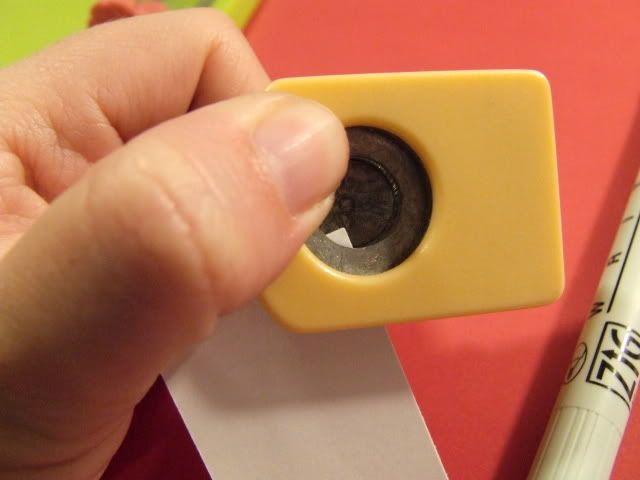
Slide each of the corners into the 1/2" circle just a little bit to create a concave curve.
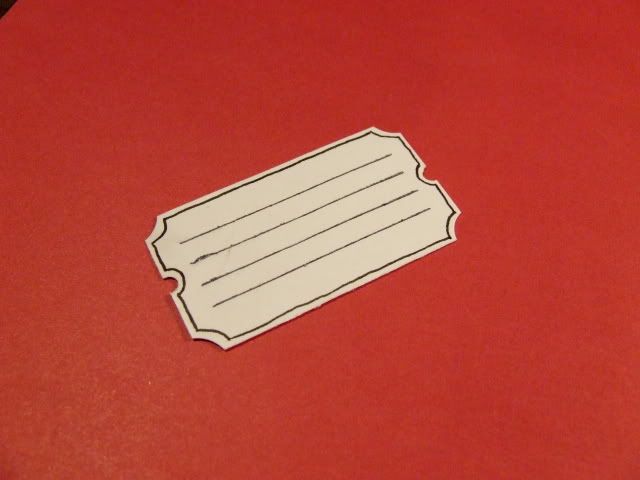
And there you have it, a ticket.
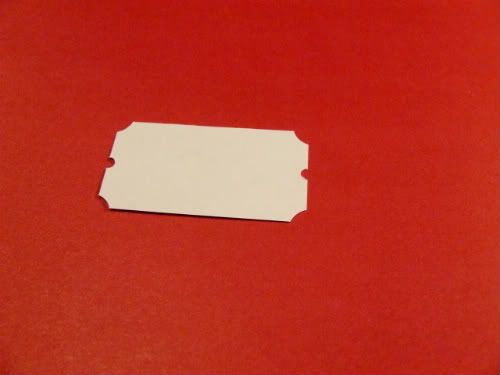
Now you can add any details you like. With this one I masked off the center area and stamped lines to journal and added a border around the edge with a pen. (I was in a hurry so it got smudged but you get the idea.)
4 comments:
very clever!!!
fANTASTIC! I love learning new ways to use my scrappin' tools and saving money!
Awesome tutorial! Thanks!
Wow!, love your tutorial.
Thanks!!!
Post a Comment