Monday, October 19, 2009

Make & Take Monday

It's already Monday again and time for Monday Make and Take! Have I got some eye candy for you...literally! LOL.
This make and take was postponed due to my little goblin and ghouls gobbling up the goodies while mummy was away.
I've been searching the world wide web for fun Halloween ideas and found these candies. Once I found these I knew I wanted to create a jar of eyeballs to go along with my spell book and other potions set out for Halloween. I found this jar at the local craft store. I collected some eyeballs, filled my jar, and created an eyeball label. My little goblin and ghouls LOVE them and they taste really good, too.
Photobucket
To make the eye candy you will need:
-Lindt White chocolate truffles
-Cookie icing (because it hardens)in the eye color of your choice
-Chocolate cookie icing for the pupil
Photobucket
Create a circle in the eye color icing then fill it with the chocolate icing. Let the icing set for 4 hours (or what is instructed on your icing package) before placing in the container.
Photobucket
Tip: I scrunched up the wrapper to lay the truffle in while I decorated it and let the icing set so it didn't roll every where. Eyeballs can be slippery little guys.
Photobucket
There you go. Super easy but so cool.
Photobucket
To create the label you will need:
1 1/4" circle punch
1" circle punch
1/2" circle punch
Basic Black and Whisper White cardstock
Cardstock in the eye color of your choice
Black ink and sponge
White Uni-ball Signo Gel Pen
Adhesive
Step one:
Punch a 1 1/4" circle in Whisper White cardstock.
Punch a 1" circle in the eye color cardstock.
Punch a 1/2" circle in Basic Black cardstock.
Step two:
Ink the edges of the eye color circle with black ink and sponge.
Step three:
Adhere the eye color circle on top of the white circle.
Adhere the black circle into the center of the eye color circle.
Step four:
Add a catch light to the black circle with the white gel pen.
Step five:
Attach your eyeball to your project.
Photobucket
I centered one eyeball onto the stamped image from the stamp set Gallery. The eyeball was just the right size to for the center! I also attached one to the the top of the jar because it was a perfect fit.
I hope you enjoyed the make and take. I plan to have more Halloween goodies and packaging ideas soon. If I can keep little goblin and ghoul fingers out of the goodies, that is.
Have a lovely Monday.

8 comments:

~Erica~ said...

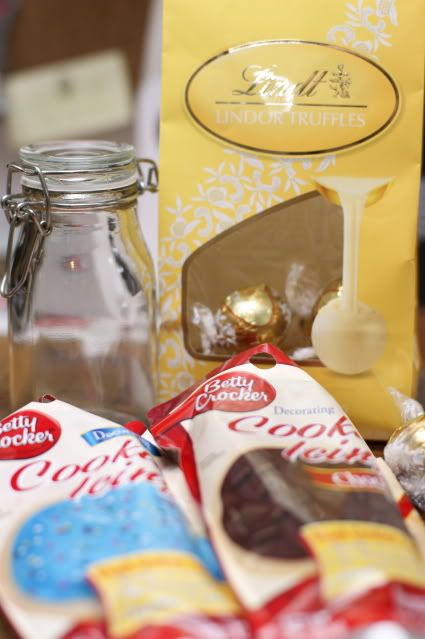
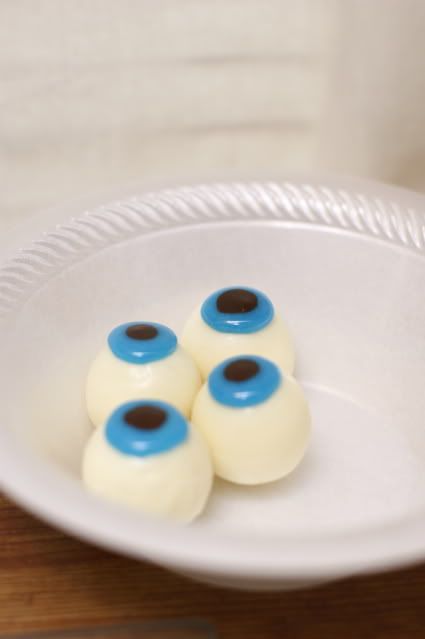
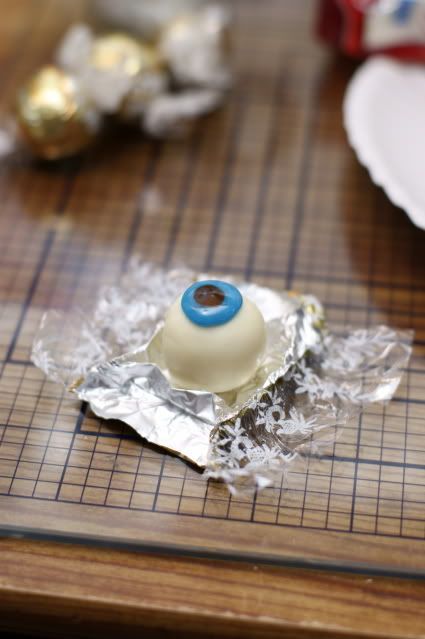
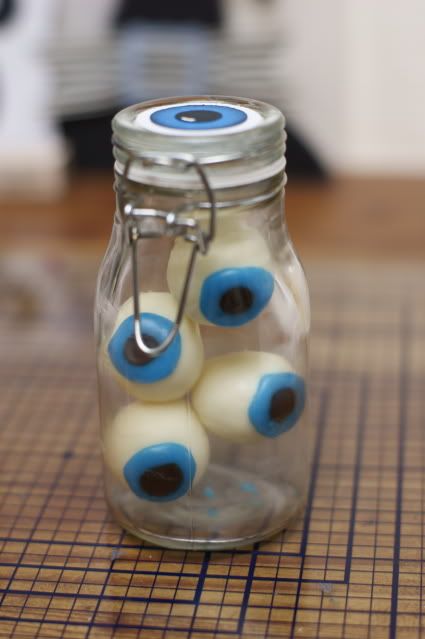
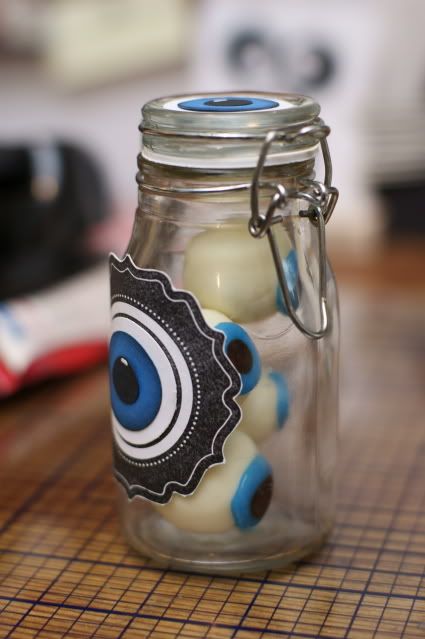
OMG, those eye balls are so cute! I love it! Your so smart! And I have never seen that cookie icing. Gotta check it out!

mom2andrew&leo said...

Great eyeballs! Love them! I might have to try some of these out for Leo's bday party this weekend since he picked an eyeball pinata.

Anonymous said...

Ewwww! I feel wrong even saying it, but those "eyeballs" look yummy!

~Brandi

crazed lunatic said...

too stinkin cute!

Keeley Kirwan said...

Those are super cute!! Great Idea and Mighty Tasty TOO!! LOL!!

Unknown said...

Way cool!!!!

Unknown said...

Very neat idea

Unknown said...

Very neat idea

LinkWithin

Related Posts with Thumbnails
Disclaimer: The content in this blog is the sole responsibility of Rachel Ricks as an independent Stampin' Up! demonstrator and the use of and content of classes, services or products offered is not endorsed by Stampin' Up!

All content, including text, photographs, and concept design works, are ©Rachel Ricks. They are shared for personal/ non-commercial use and inspiration only.

Blog header and logo design © Rachel Ricks.

flash backs